# Groups in Civillo
Groups are available within Civillo so that data can easily be shared amongst members of a project. In some cases, you will have many members of a project that need access to some data but not to all of it.
# Create a group
To create and manage groups, follow the steps below.
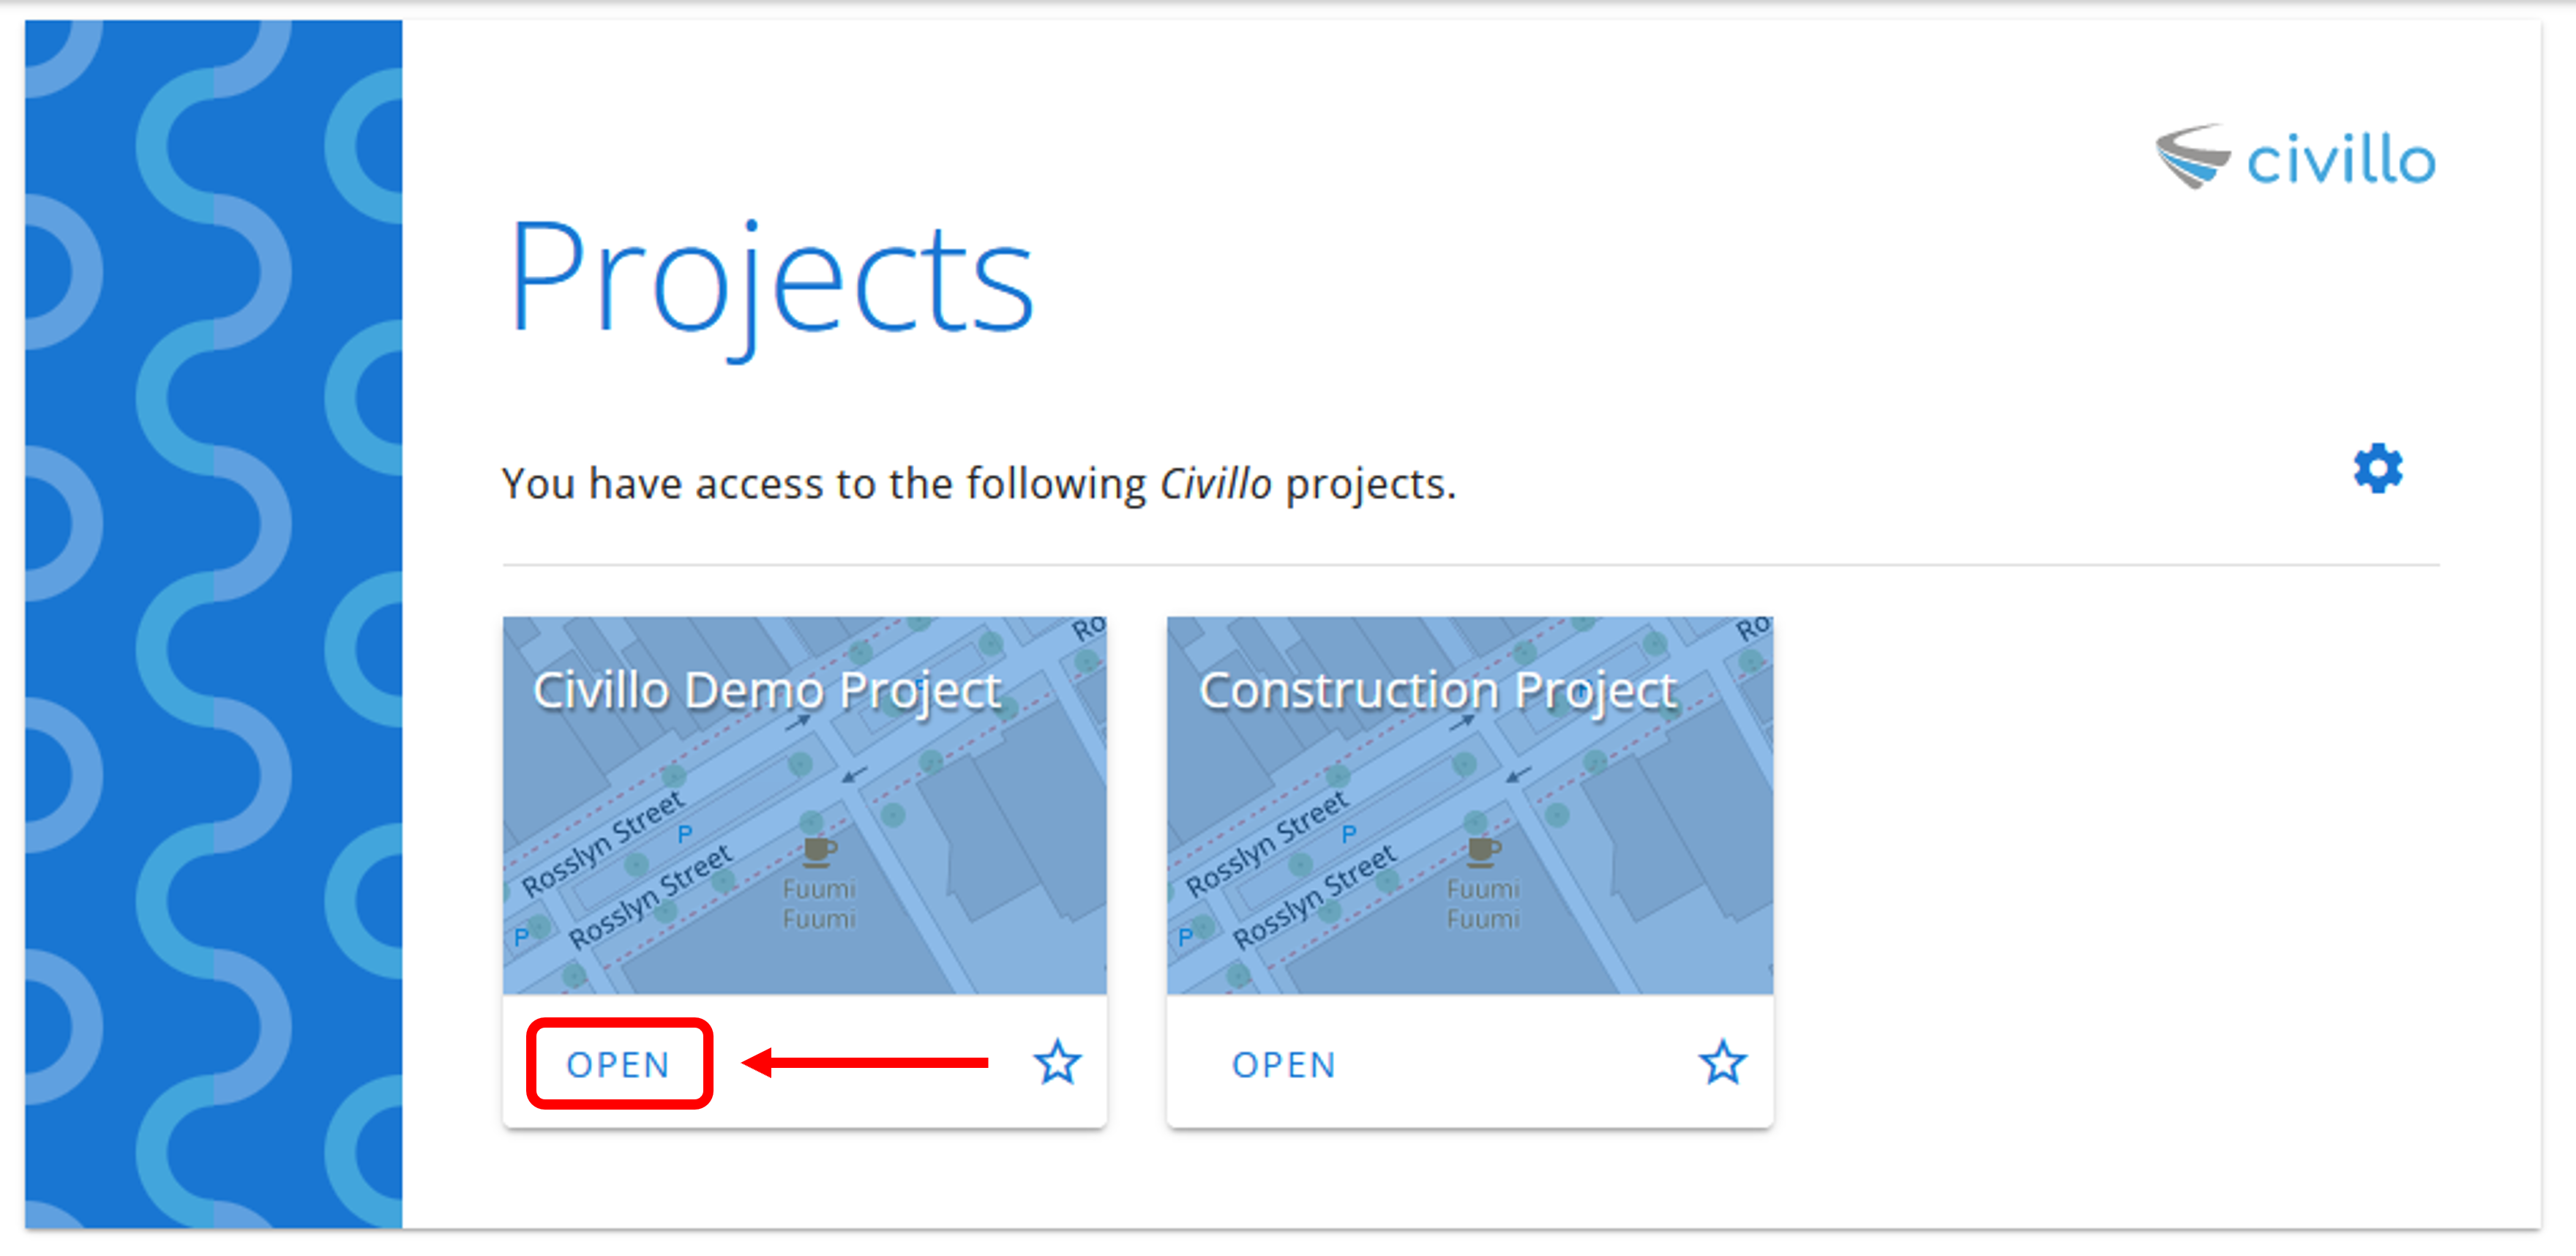
- Open your project.

- From the navigation bar, click Administration.

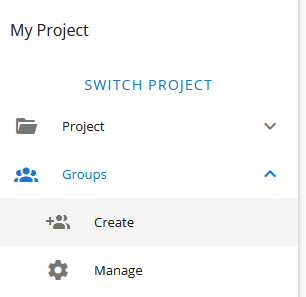
- In the left sidebar, under your project's name, click Groups and then Create.

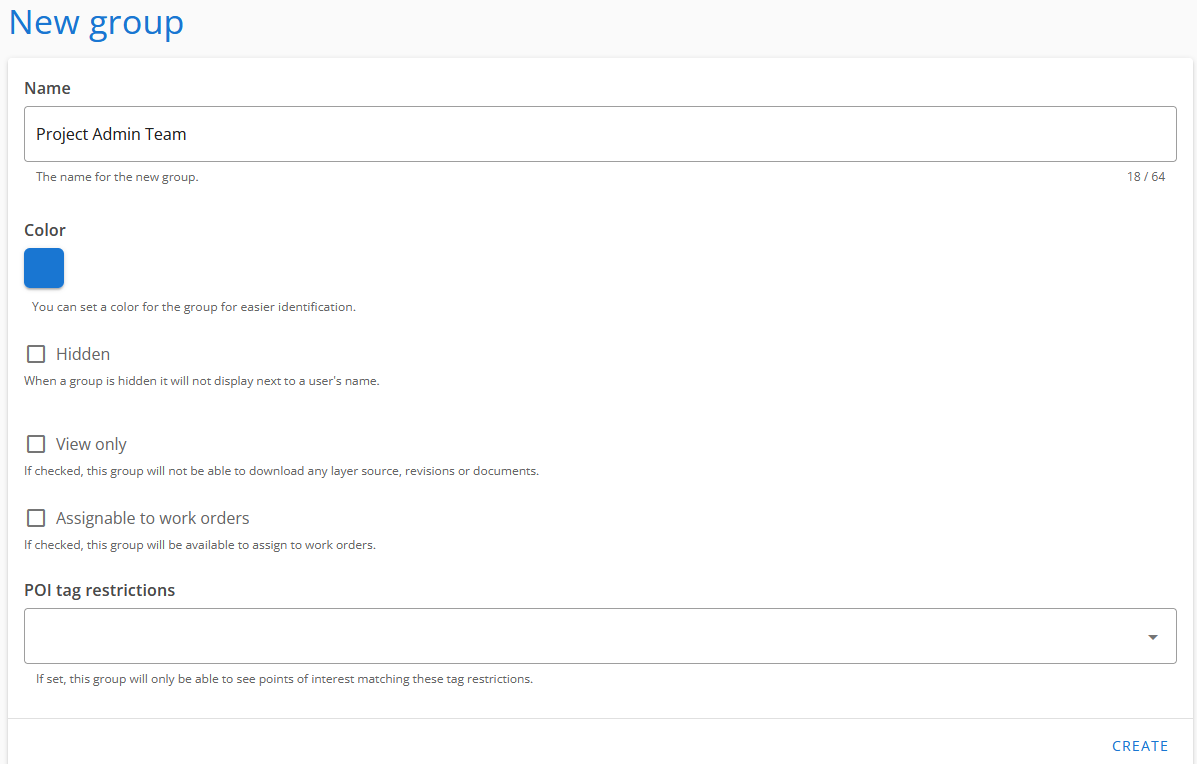
- Fill out the name and description of your group, scroll to the bottom then click Create. As shown below you can assign the following additional settings to the new group:
- Color: For ease of visualization.
- Hidden: Group will not display next to a user's name.
- Prevent downloading layer source: All members of the group will be forbidden from downloading layer sources and revisions. They will still be able to view the layers.
- Prevent downloading documents: All members of the group will be forbidden from downloading documents.
- Assignable to work orders: Group will be available to assign to work orders.
- Manageable by users with the group management role: Group will be visible and updateable by all users with the Group management group role. Otherwise, only admins will be able to see and manage this group.
- POI tag restrictions: Group will only be able to see points of interest with tags matching the tags selected here.

# Manage a group
- Again, in the left sidebar, click Groups and then Manage groups. Your created group will now appear in the drop-down list. Select the group you wish to manage.
Here you can delete this group, change the name of the groups, select and deselect the layers that will be accessible to the members of this group and add and remove any users to this group.
Once changes have been made, click Save Changes.
# Group roles
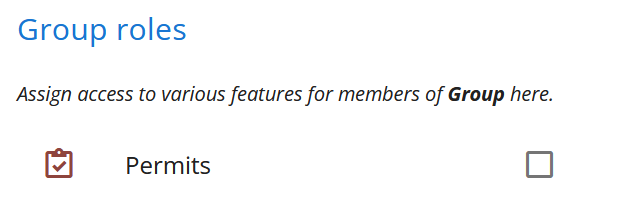
Some Civillo features are only available to users if they are a member of a group that has a specific group role.
By default, a newly created group has no roles.
Roles can be assigned to a group either at the creation stage, or when managing an existing group.

# Chainage alignment management role
Users with this role have access to the chainage alignment page of the administration section. From here they can view, create, edit and delete chainage alignments in the project.
# Work order management role
Users with this role have the ability to, for all work orders (even those they have not created):
- Add optional fields
- Change assignments of users and groups
- Set status, including to completed
- Delete events
- Add and delete tags
# Layer creation and editing role
When a group has the layer creation and editing role, any members of the group will have access to the layer edit and layer create/revise pages in the administration section. As with permits, users must be in at least one such group for access. This allows non-admins to be granted access to this otherwise administrator-only functionality without being able to access the rest of the administration section.
# Layer directory structure role
When a group has the layer directory structure role, any members of the group will have access to the layer directory structure page in the administration section. On this page these group members will be able to create, edit and delete directories (but not layers) as well as assign layers and unassign layers from directories.
# Group management role
Users with this role have access to the manage and create groups pages in the administration section. Unless they are also project administrators, they will only be able to see groups which have Manageable by users with the group management role enabled. Note that any groups created by non-admin users with this role will automatically have this enabled.
WARNING
Group managers who are not project administrators will not be able to toggle the Manageable by users with the group management role setting or be able to set or modify group roles.
# User management role
Users with this role have access to the user invite/remove page where they can view all project users, invite new users and remove existing users. They cannot access the full user management page that handles role assignments and promotions.
WARNING
User managers cannot remove project or organization administrators from the project.
WARNING
User managers cannot assign groups to other users (unlike project/organization admins). This prevents user managers from granting themselves additional permissions via group roles. A dedicated group role for this action will be added in a future update.
# Permits role
When a group has the permits role, any members of the group will have access to the permits module. Users must be in at least one group with the permits role to have access to the permits module.
TIP
The permits role is only available with the permits module, which is an extra addon to the project.
TIP
Users with the 'Permit Controller' project role automatically have access to all permits. This means they do not need the permits group role to access permits.
# Permits overview and management role
Users with this role have access to the project admin permit overview and management pages as well as the actions able to be performed on permits from those pages. They are also granted access to permits on the map page and have the same permissions to perform operations there (e.g. revoking and cancelling permits) as project admins and permit controllers.
Note that, unlike project admins and permit controllers, they do not have access to the permit categories and templates pages. This role hereby provides another layer for scoping permit permissions.
# Points of interest editing role
Users with this role are able to edit and delete all points of interest on their project's map. Users lacking this role, meanwhile, are only able to edit and delete points of interest which they have created.
# Points of interest bulk upload/export role
Users with this role have access to the points of interest page of the administration section. From here they can bulk upload and export points of interest in the project.

