# Create a Civillo project
This guide helps administators create and manage projects within an organization.
WARNING
Note that creating a project will incur a monthly project cost. Before creating a project it is recommended that you approve this action with your accounts manager.
# Create a new project
Sign-in to your account.
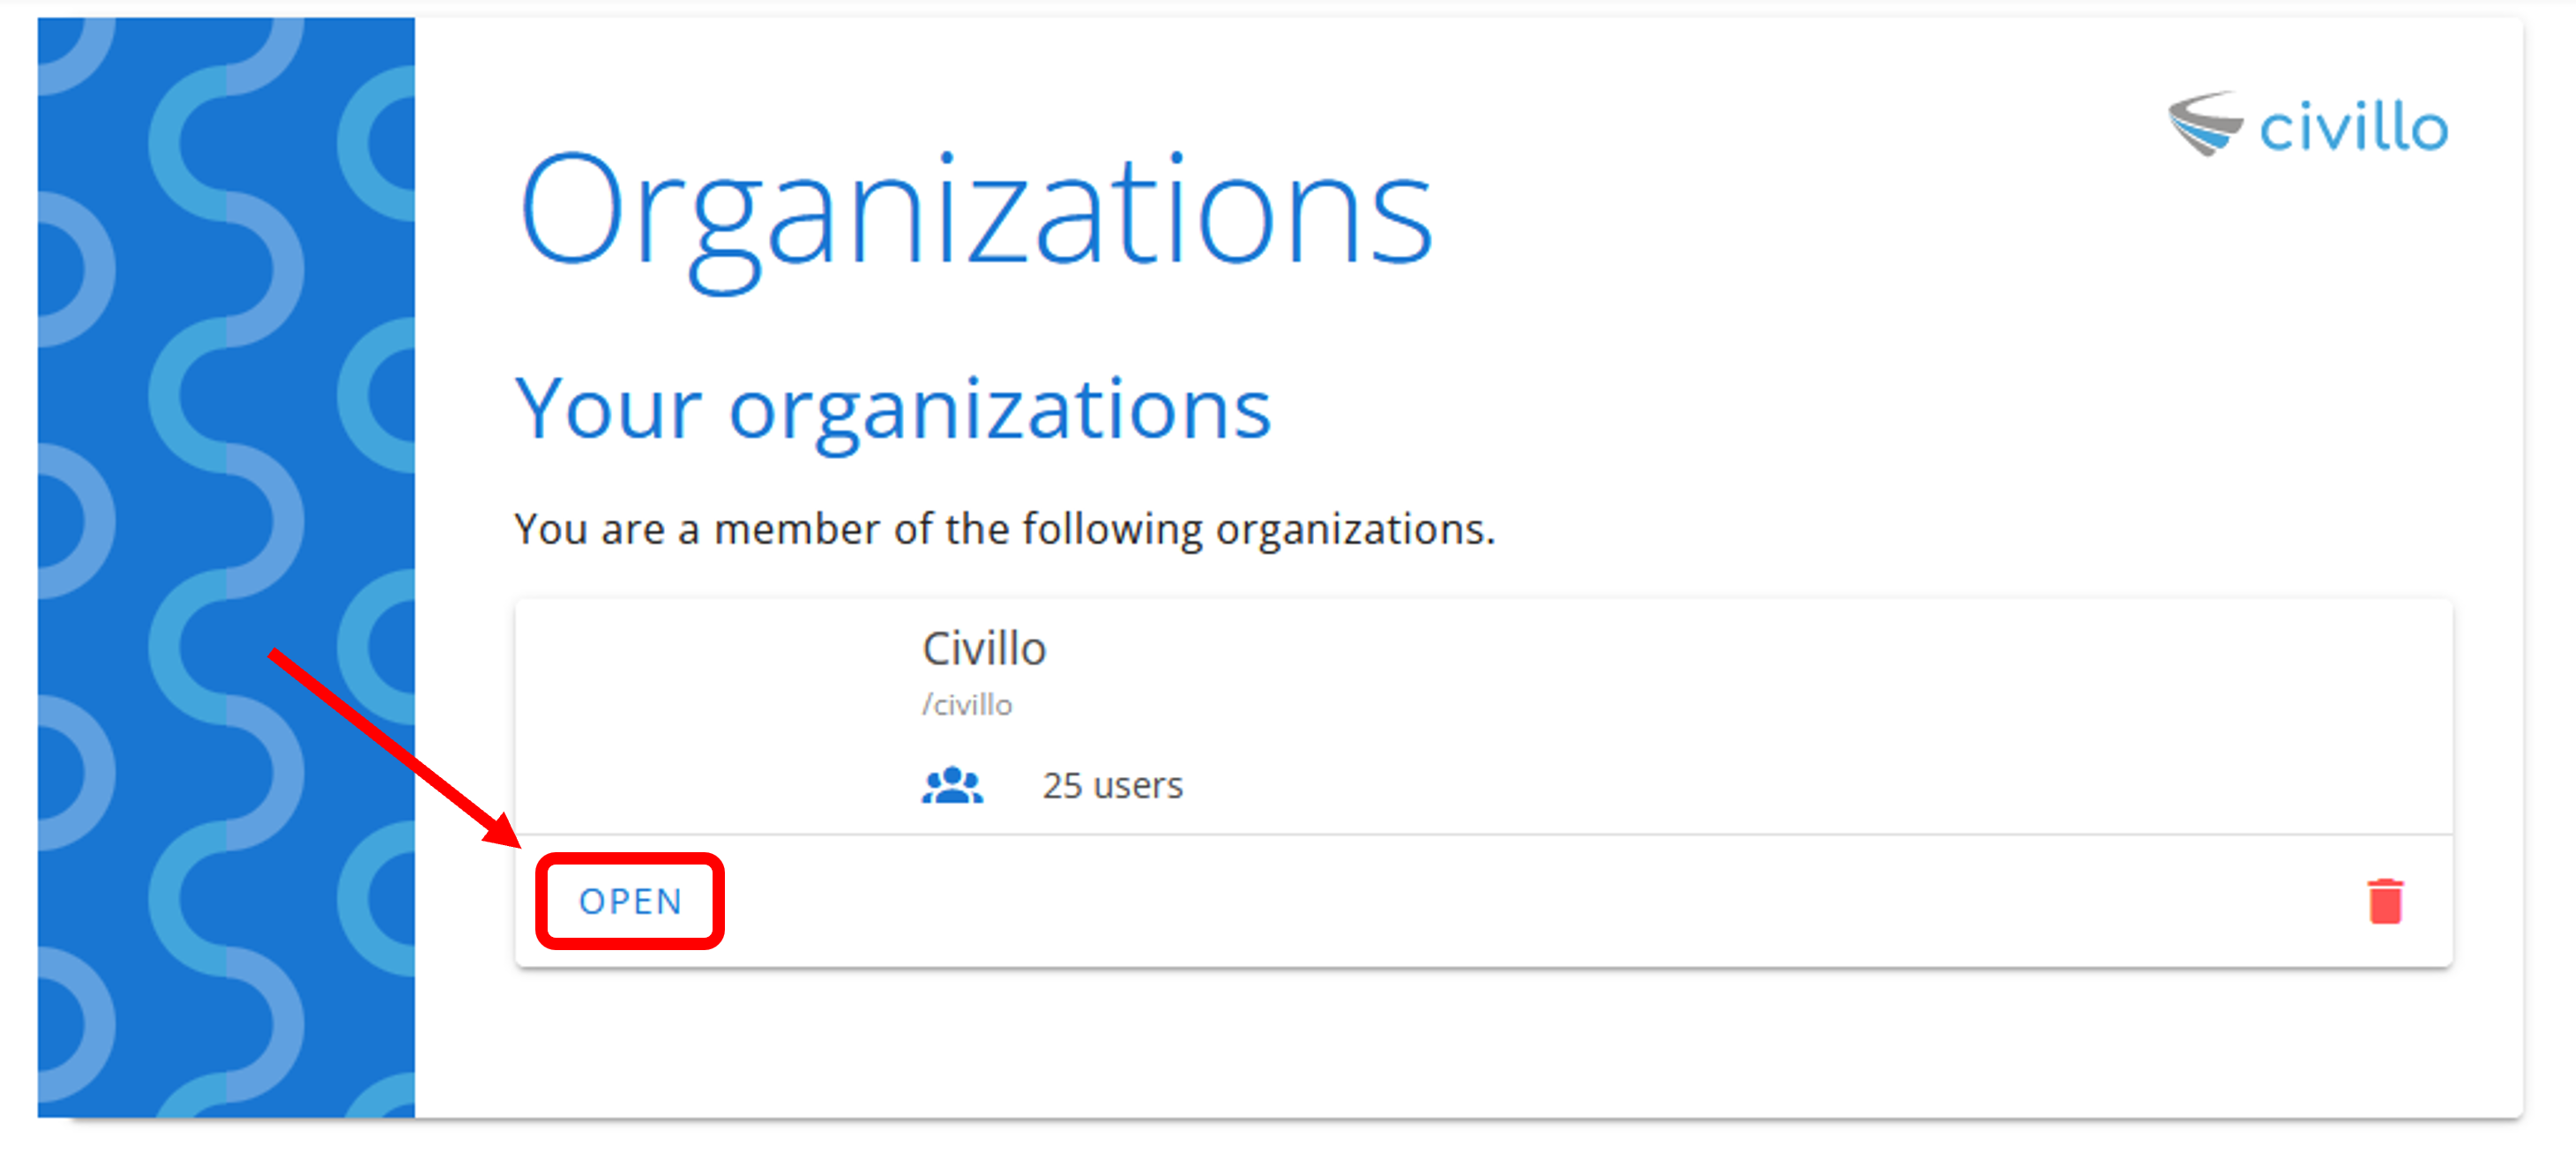
Find your organization and click Open.
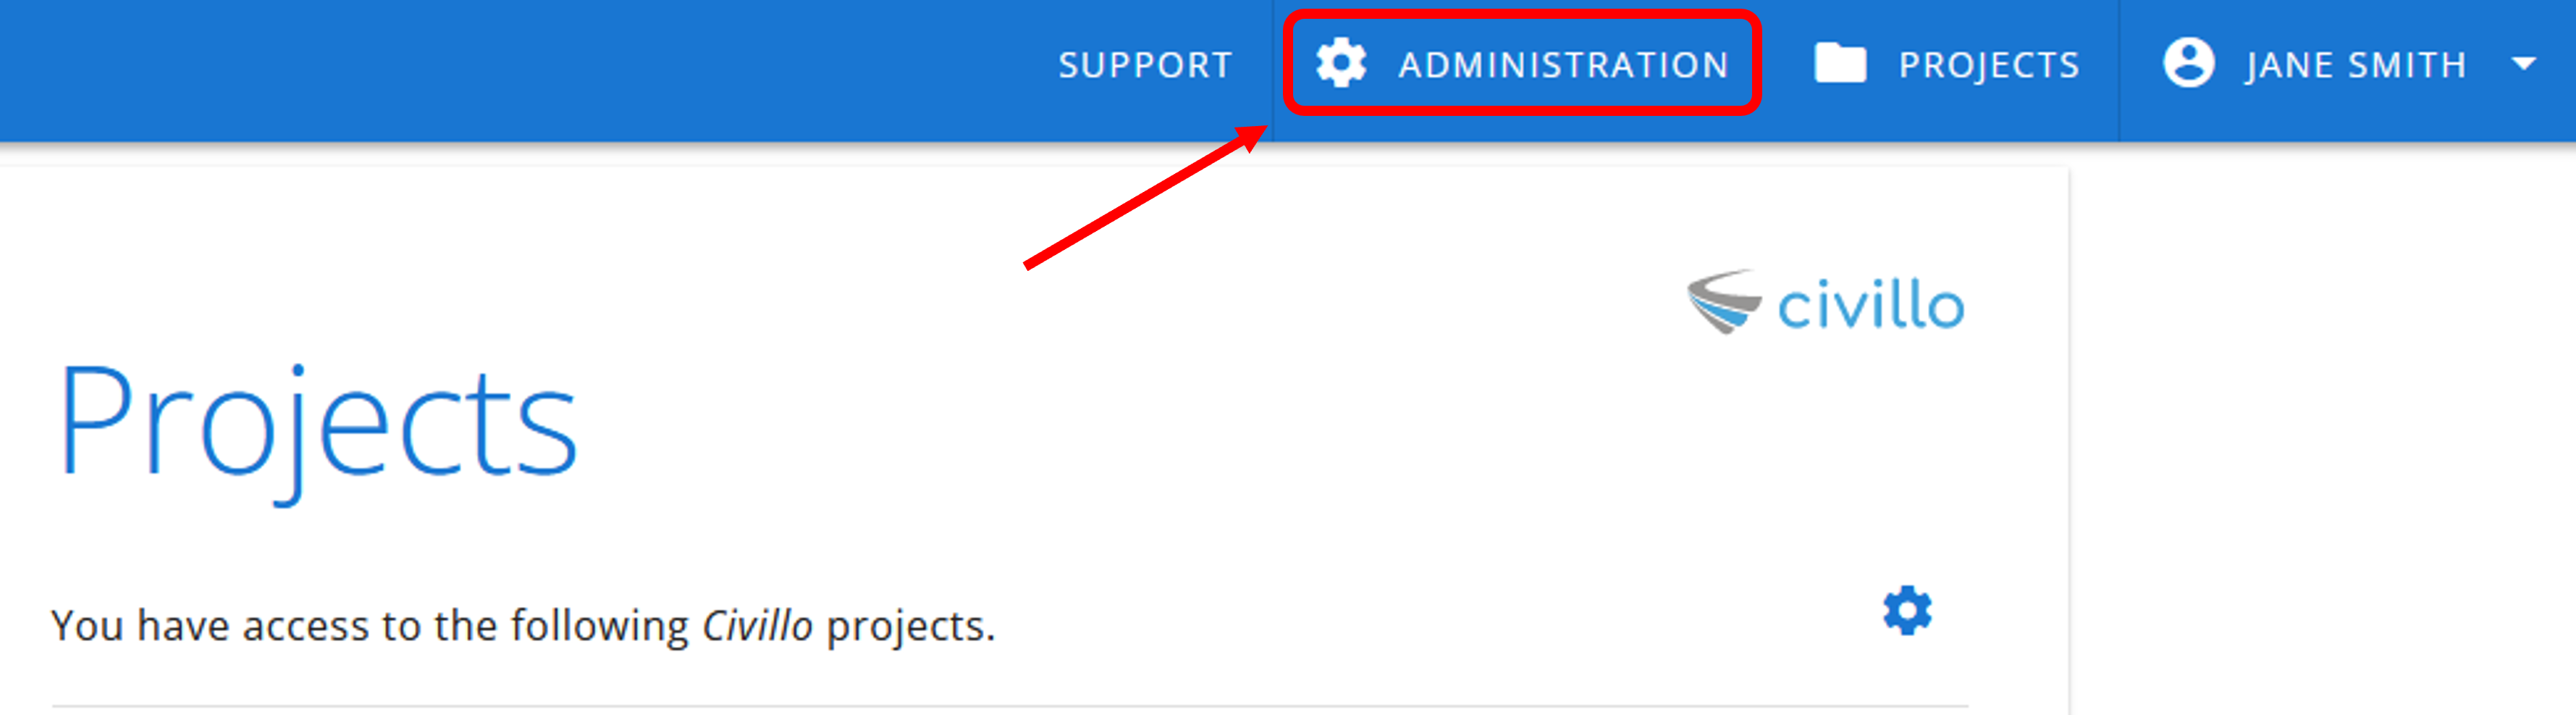
- Click Administration from the navigation bar.
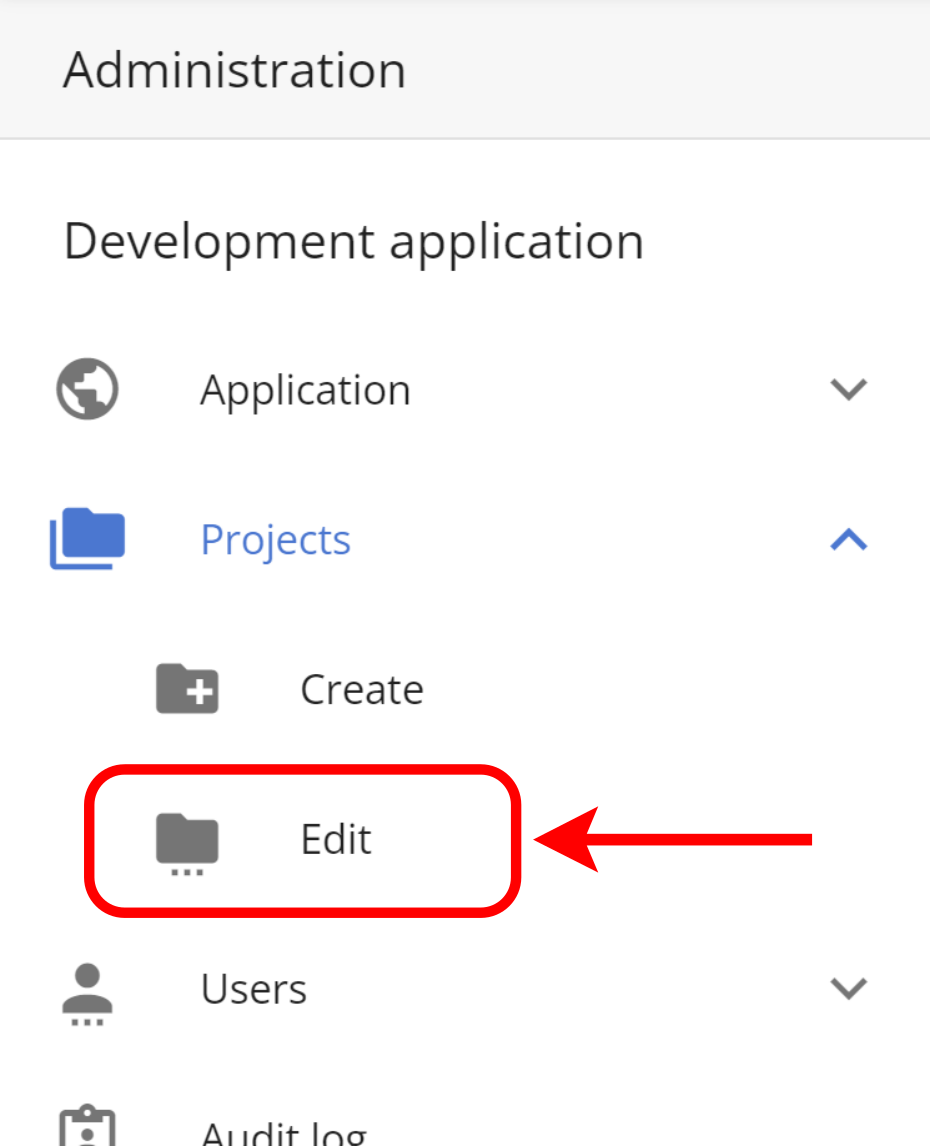
- In the left sidebar, click Projects and then click Create.

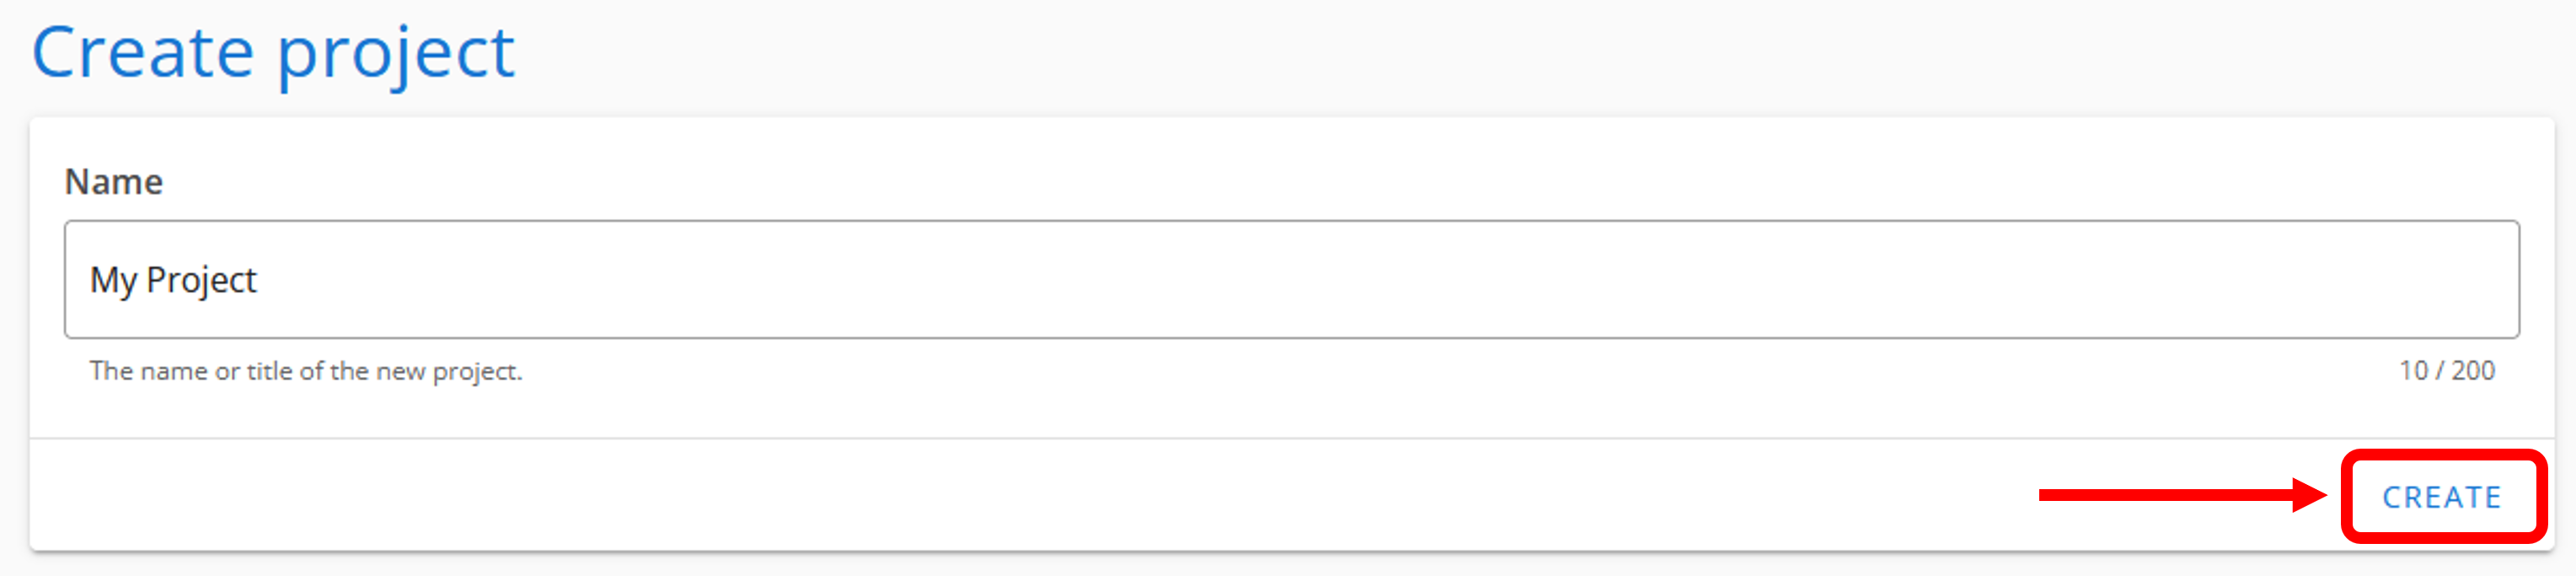
- Enter the name of your new project and click Create.
- A pop-up screen will appear, to open the project now click open, otherwise click cancel. You can now find the project under Projects → Edit.

TIP
All administrators of the organization will be automatically added to the new project. See how to to manage project users below.
# Add users to a project
TIP
This is only available to organization admins, unless your organization has the Organization-wide visibility of users setting enabled, in which case project admins and all users with the user management group role also have access. Refer to the organization settings page for how to enable this.
Sign-in to your account.
Find your organization and click Open.
- Click Administration from the navigation bar.
- In the left sidebar, click Projects and then click Edit.
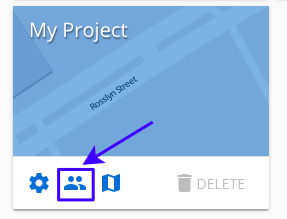
- Find the project you wish to manage and click the user icon on the bottom left-hand corner.
- Scroll down, select the user under Available users to add to the project, click Save Changes and then Confirm.
TIP
Available users are users who are already members of the organization, but not yet members of the given project. In order to add new users (users who do not already have a Civillo account) to a project they must first be invited to join the organization; refer to how to invite users.
# Remove users from a project
- Follow steps 1-5 from above.
- Under Project users, scroll down or use the search bar to find and select a user.
- Click Save Changes and then Confirm.
WARNING
Only members can be removed from projects, administrators cannot remove other administrators.
# Enforcing multi-factor authentication (MFA) on a project
- Navigate to the Edit Project page.
- Toggle the Enforce MFA checkbox.
- Click Confirm on the popup dialog.
- Click Save Changes and then Confirm.
When enabled, users will not be able to access any project resources without having MFA enabled on their account. See MFA setup for how to enable MFA on your Civillo account.
WARNING
Enforcing MFA for your project will immediately prevent any users without MFA enabled from accessing project-related Civillo resources until they set up MFA.
To remove MFA enforcement, toggle the checkbox off then click Save Changes.