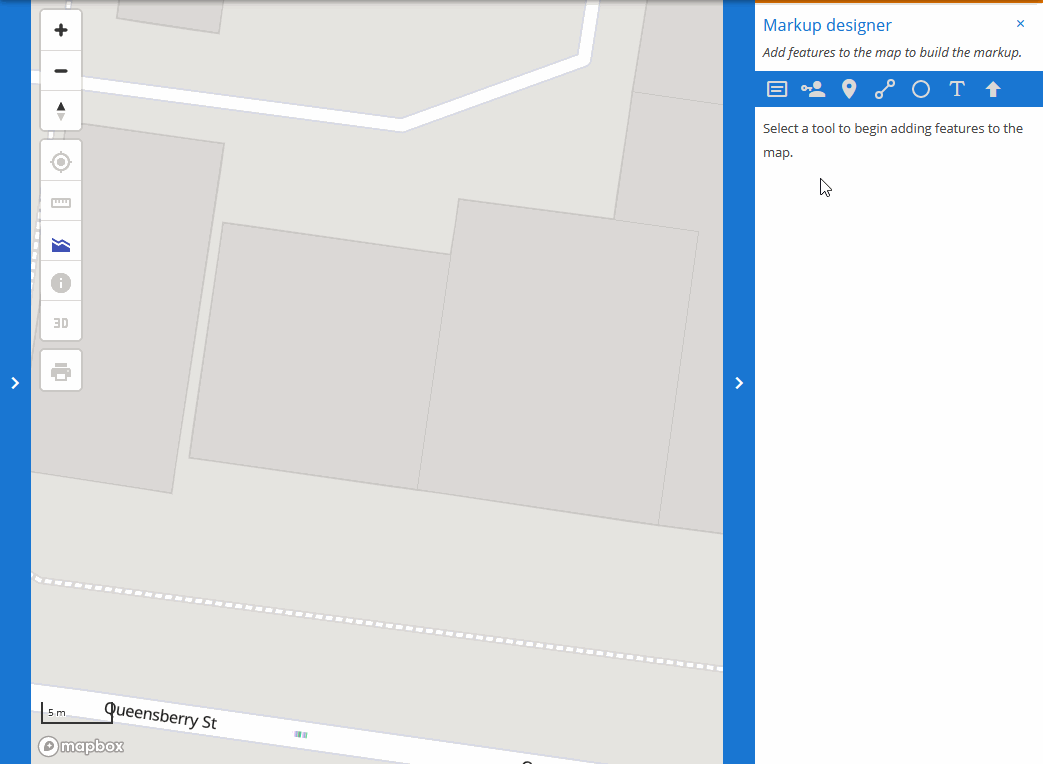
# How to use the markup tools
Markups are created by adding different markup elements to it. This includes any combination of markers (points), lines, polygons, circles, symbols (pre-defined polygons) and text. Any changes you make are saved automatically in real time.
# Adding markers
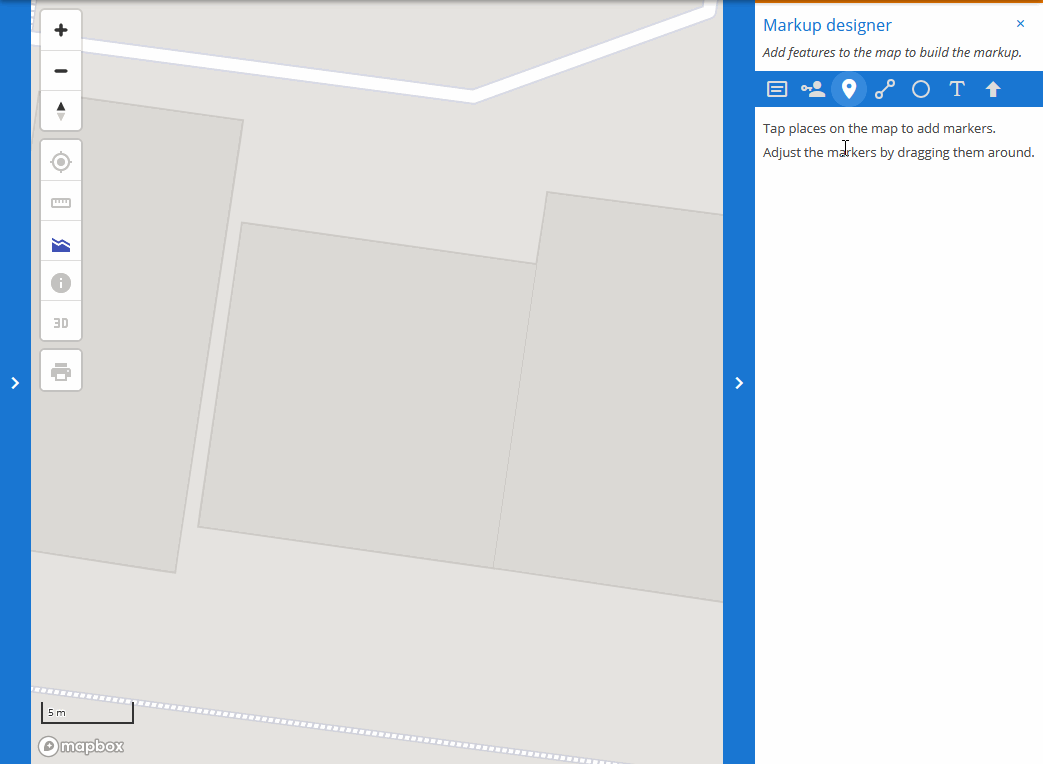
To add a marker (point) to your markup, click the ![]() button. Then click anywhere on the map to add a marker there. Clicking anywhere else on the map will add a new marker.
button. Then click anywhere on the map to add a marker there. Clicking anywhere else on the map will add a new marker.
# Adding geometries (lines and polygons)
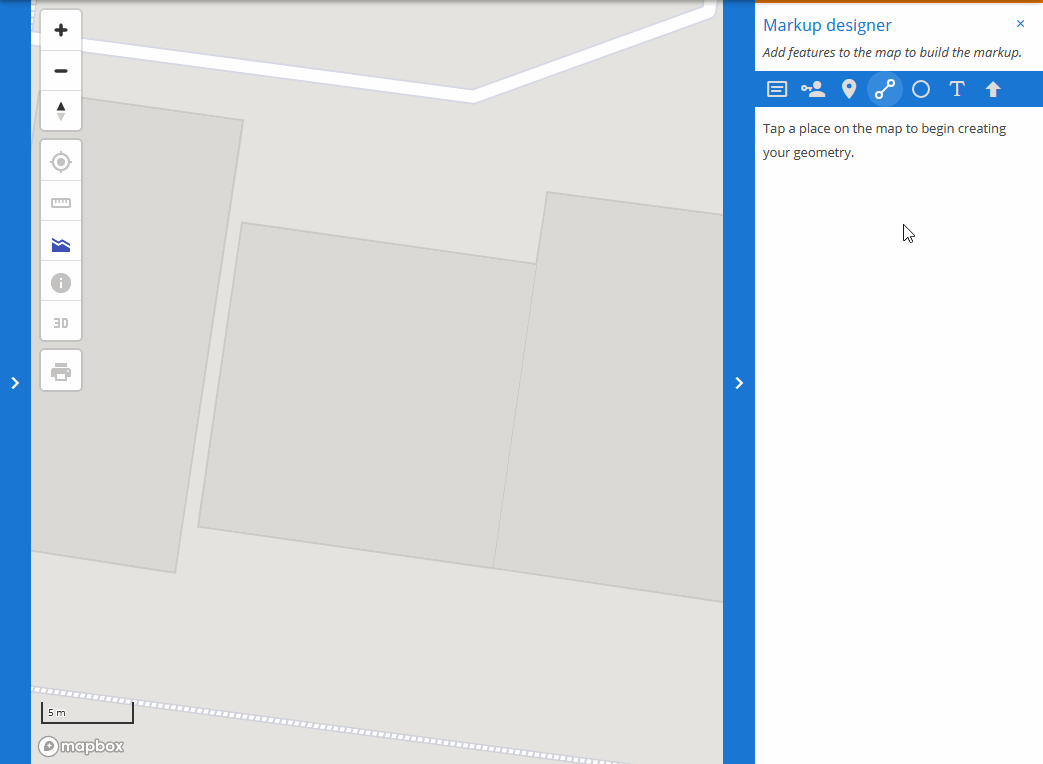
To add geometry to your markup click the ![]() button. Click on the map to place the corners of your shapes or points of your lines. To create polygons, click the first point again.
button. Click on the map to place the corners of your shapes or points of your lines. To create polygons, click the first point again.
To start a new geometry, click the New geometry button, or by click the map again after closing off a polygon.
# Adding circles
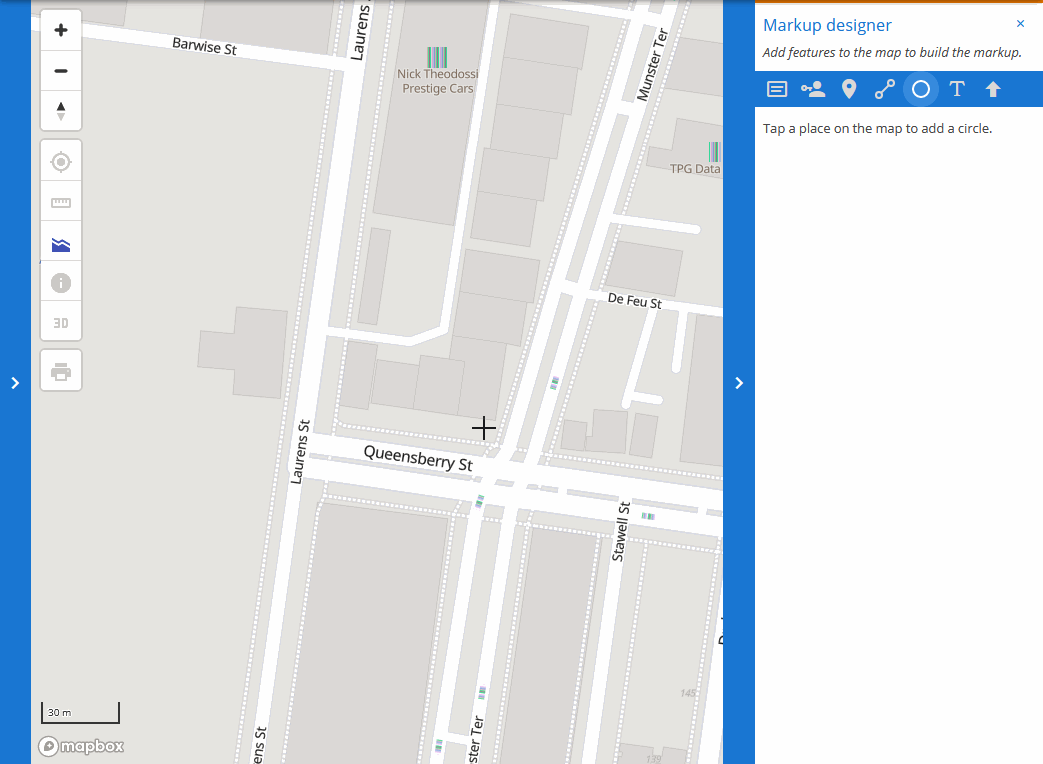
To add a circle to your markup click the ![]() button. Click on the map to place the center of your circle. Click and hold the center point of the circle to move it around. You can specify the circle radius in metres in the properties panel.
button. Click on the map to place the center of your circle. Click and hold the center point of the circle to move it around. You can specify the circle radius in metres in the properties panel.
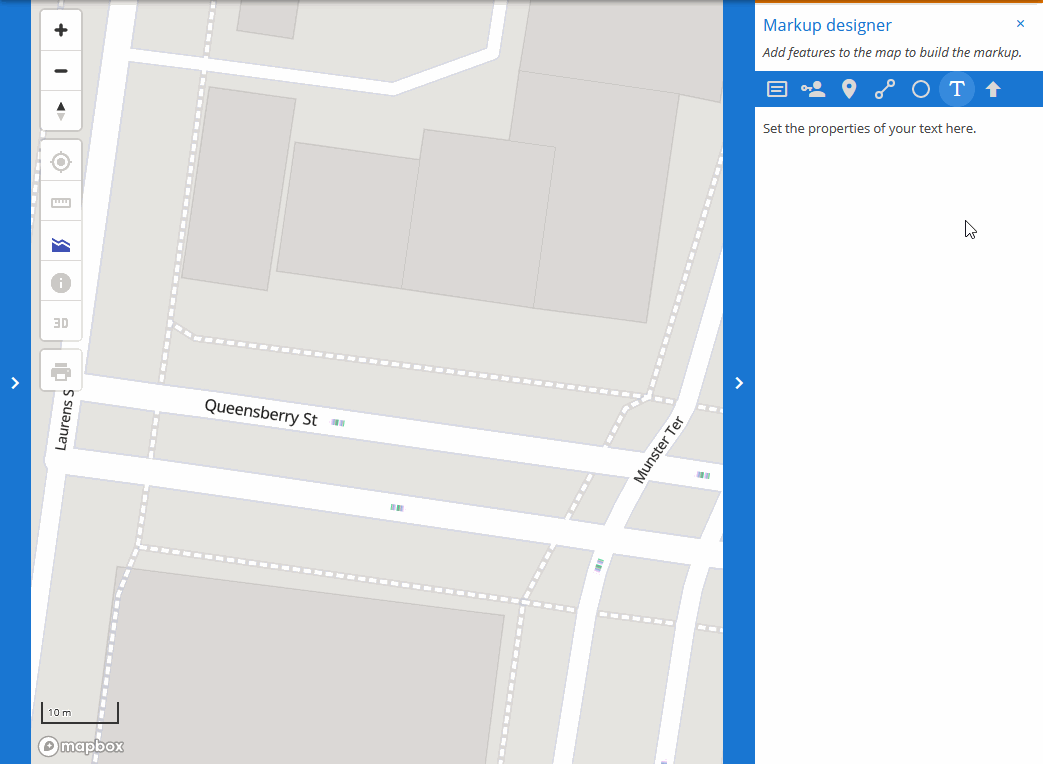
# Adding text
To add text to your markup click the ![]() button. Click on the map to specify the insertion point for your text. Type the text to display inside the Label field. You can specify text height (in metres) in the Line height field and rotation of the text (in degrees) by moving the rotation slider.
button. Click on the map to specify the insertion point for your text. Type the text to display inside the Label field. You can specify text height (in metres) in the Line height field and rotation of the text (in degrees) by moving the rotation slider.
# Adding symbols
To add a symbol to your markup click the  button to select the Symbol tool.
To pre-select the type of symbol that will be placed, click the button and the symbol selection dialog will show allowing you to pick from a pre-defined selection of symbols. After selecting the symbol that you want, click on the map to place the symbol.
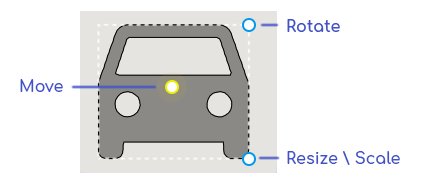
You can manipulate the symbol into the correct position by moving, rotating and resizing by clicking and dragging the associated marker.
The symbol can be further adjusted by changing the properties in the designer panel. You can specify stroke weight, stroke color and fill color.
If you wish to repeat the same styling to subsequent symbols, check the "Copy style to new features" checkbox. Any new symbols created with this checked will have the same stroke weight and colors of the checked symbol.
If you wish to change the symbol, you can select the "symbol select" button to show the symbol selection dialog again.
# Styling markup features
Most markup features can be styled, usually by colors (stroke and fill) or width (stroke). To style a feature, first select it by clicking on one of the select handles for the feature, the adjust the properties in the properties panel for the feature.

# Removing a feature
To remove a markup feature, first select it by clicking on one of the select handles for the feature, then click the Remove button next to Feature id.
# Sharing a markup
You can share a markup with other users individually, or with entire groups. To share, click the ![]() button which will open up the permissions dialog. From here, select any individual user or any groups you want to share with, along with the permission level. The permission won't committed until you click Share.
button which will open up the permissions dialog. From here, select any individual user or any groups you want to share with, along with the permission level. The permission won't committed until you click Share.
# View only
This permission setting only allows the markup to be viewed (no editing is possible). This permission still allows users to comment on the markup.
# View and edit the markup
This permission setting allows full editing of the markup. This includes adding, removing and styling features as well as changing permissions for the markup. It also allows the markup to be deleted so this permission should not be granted lightly.