
Create a Civillo project
This guide helps administrators create and manage projects within an organization.
Create a new project
Section titled “Create a new project”- Sign-in to your account.
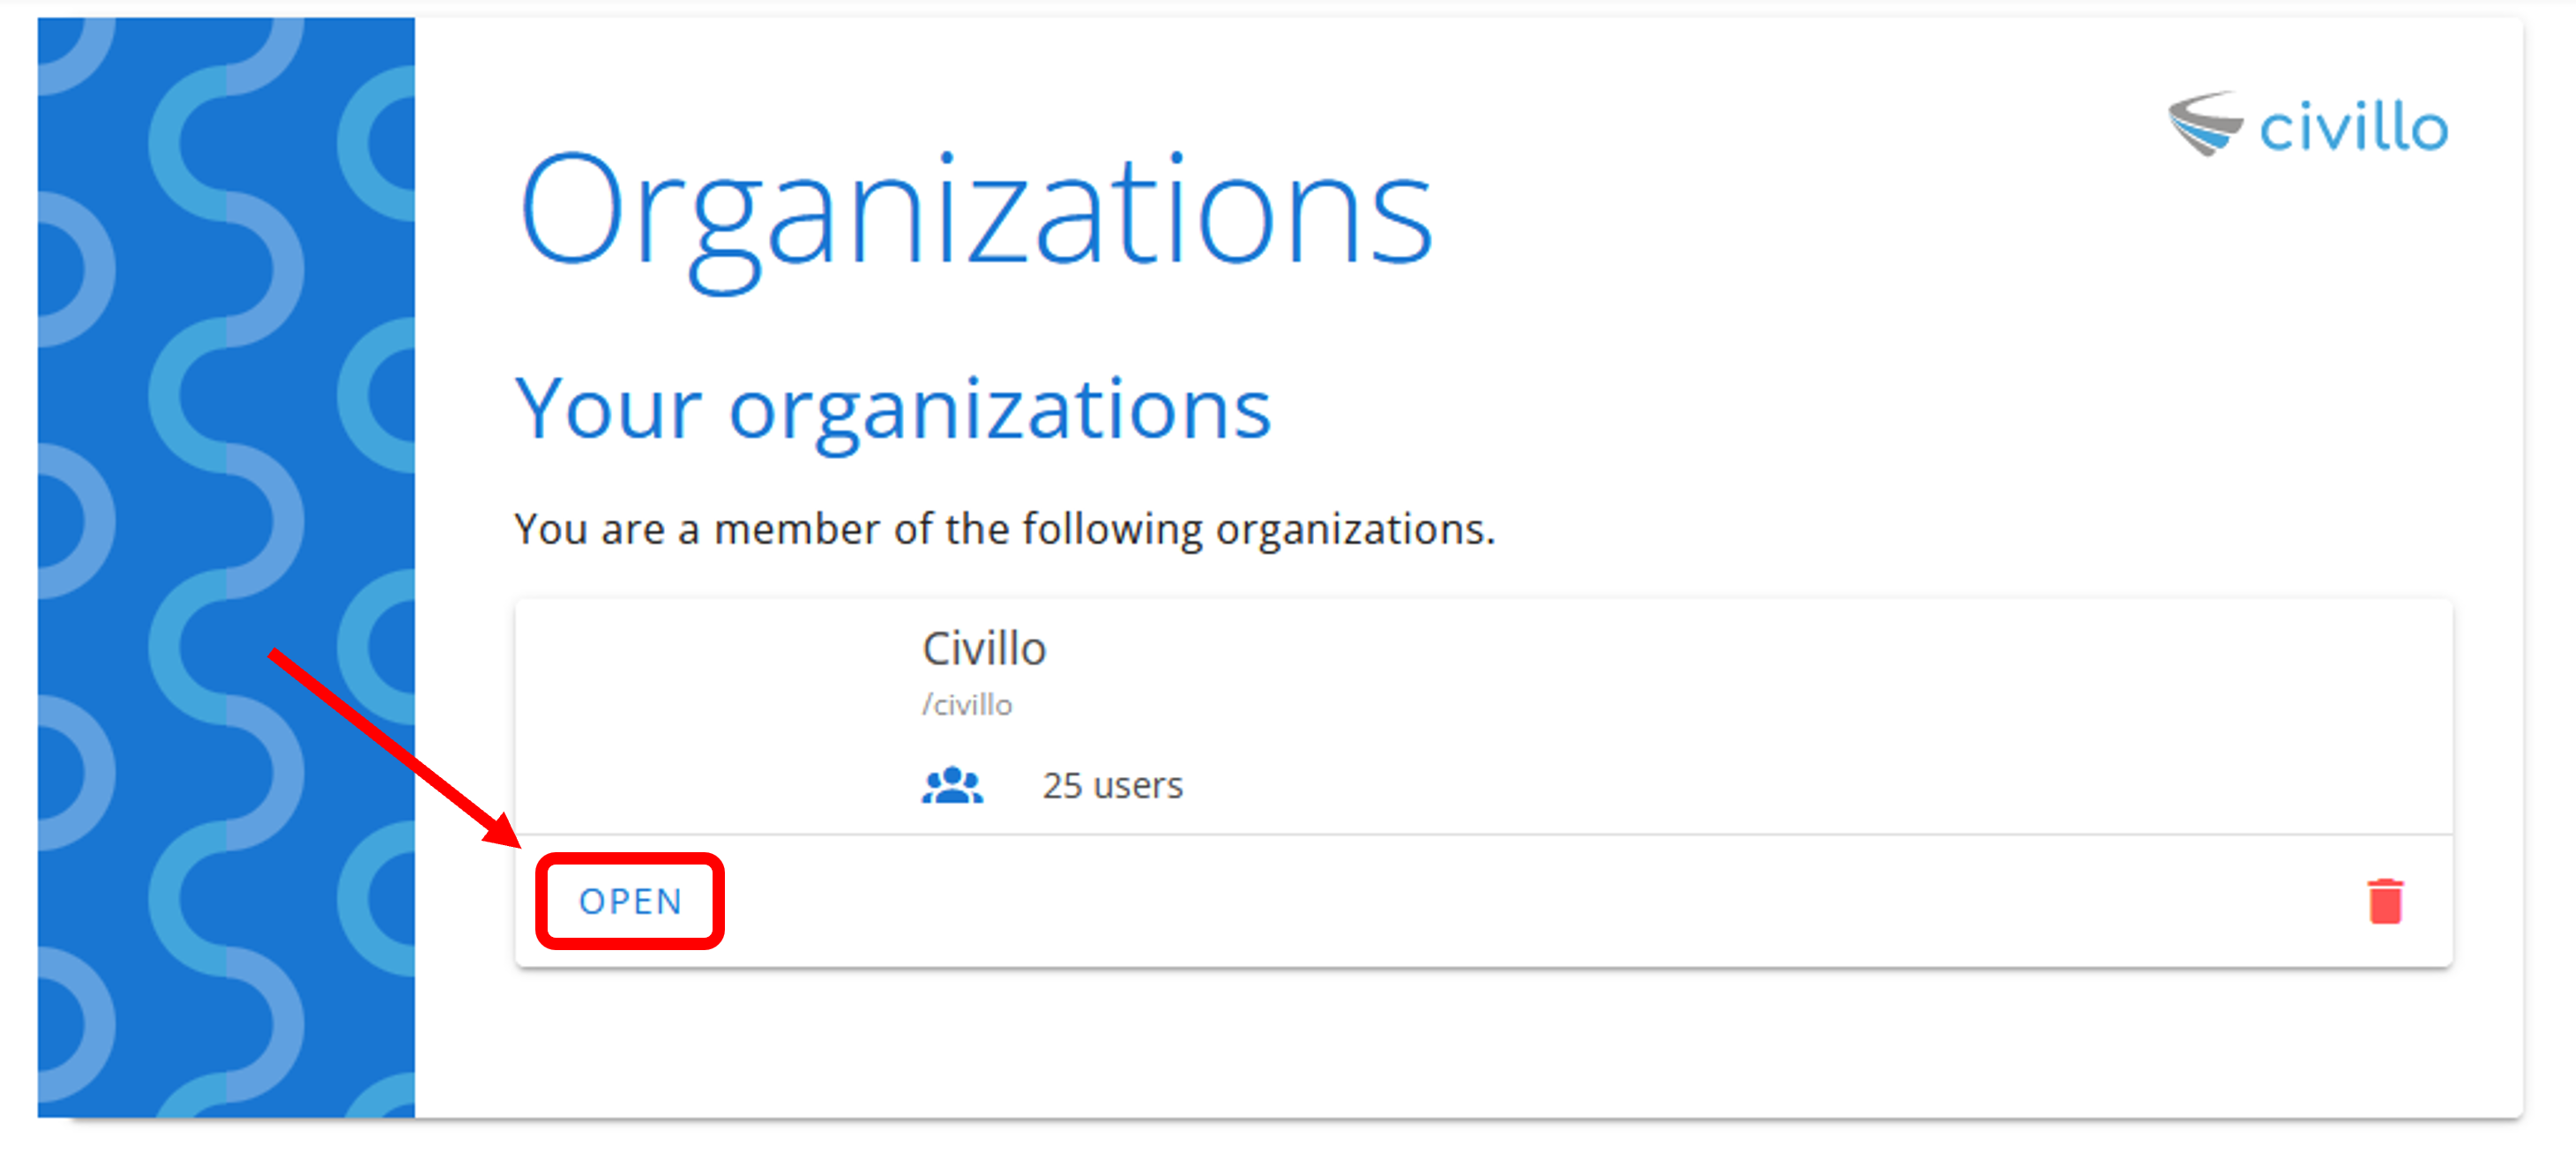
- Find your organization and click Open.
- In the navigation bar, click Administration.
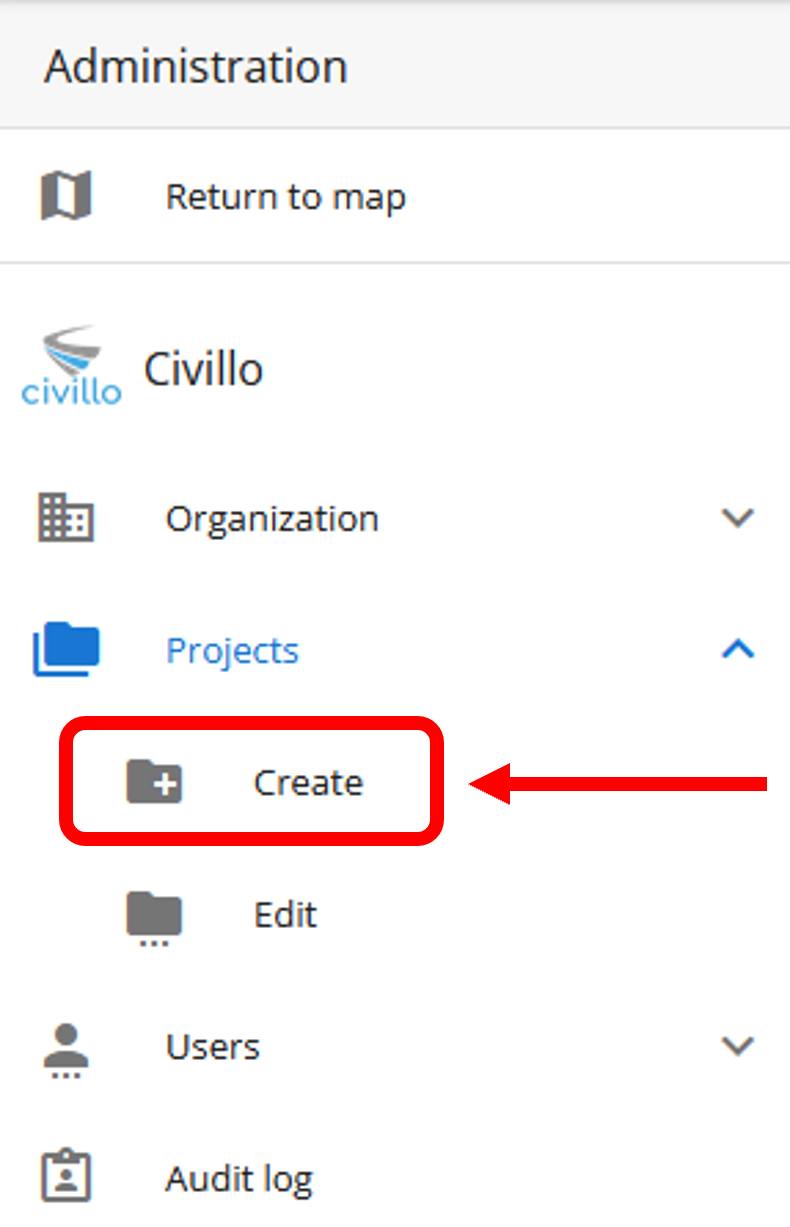
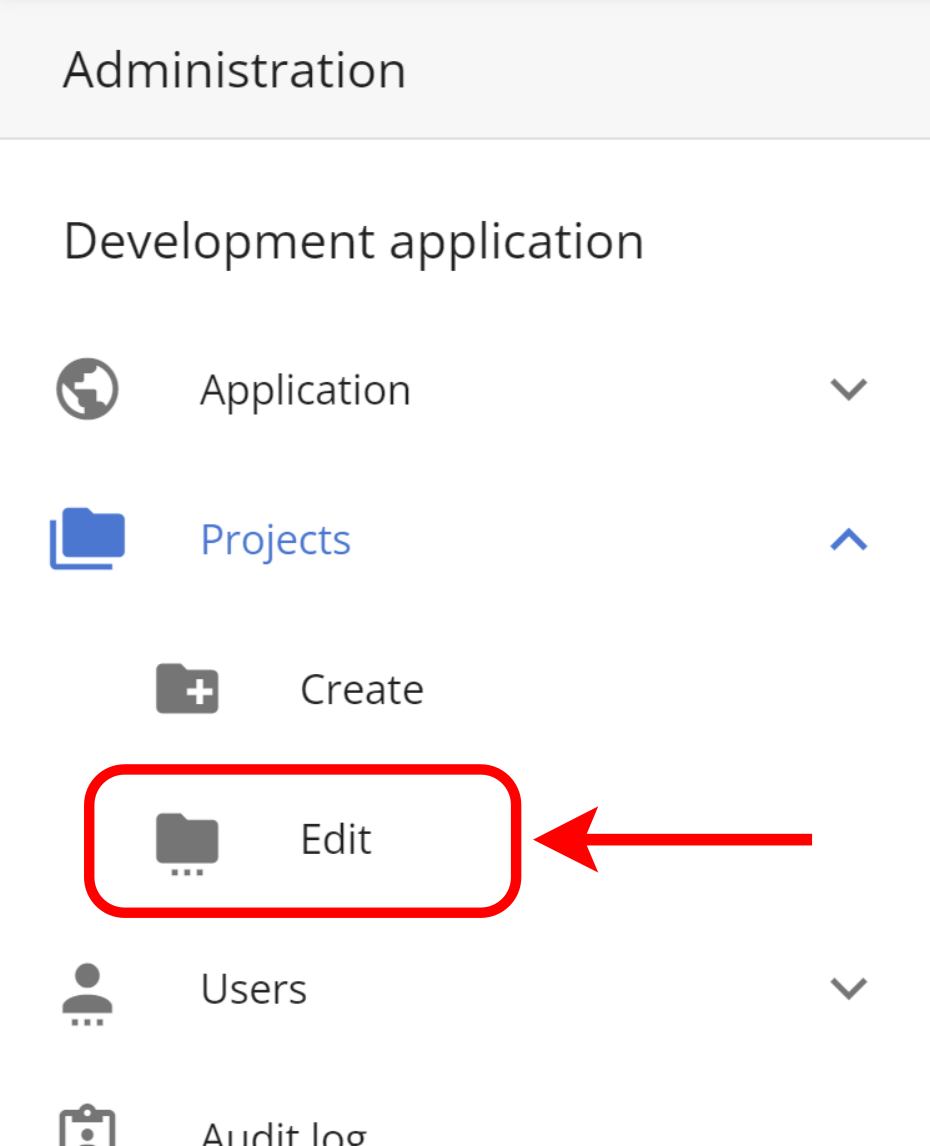
- In the left sidebar, click Projects and then click Create.
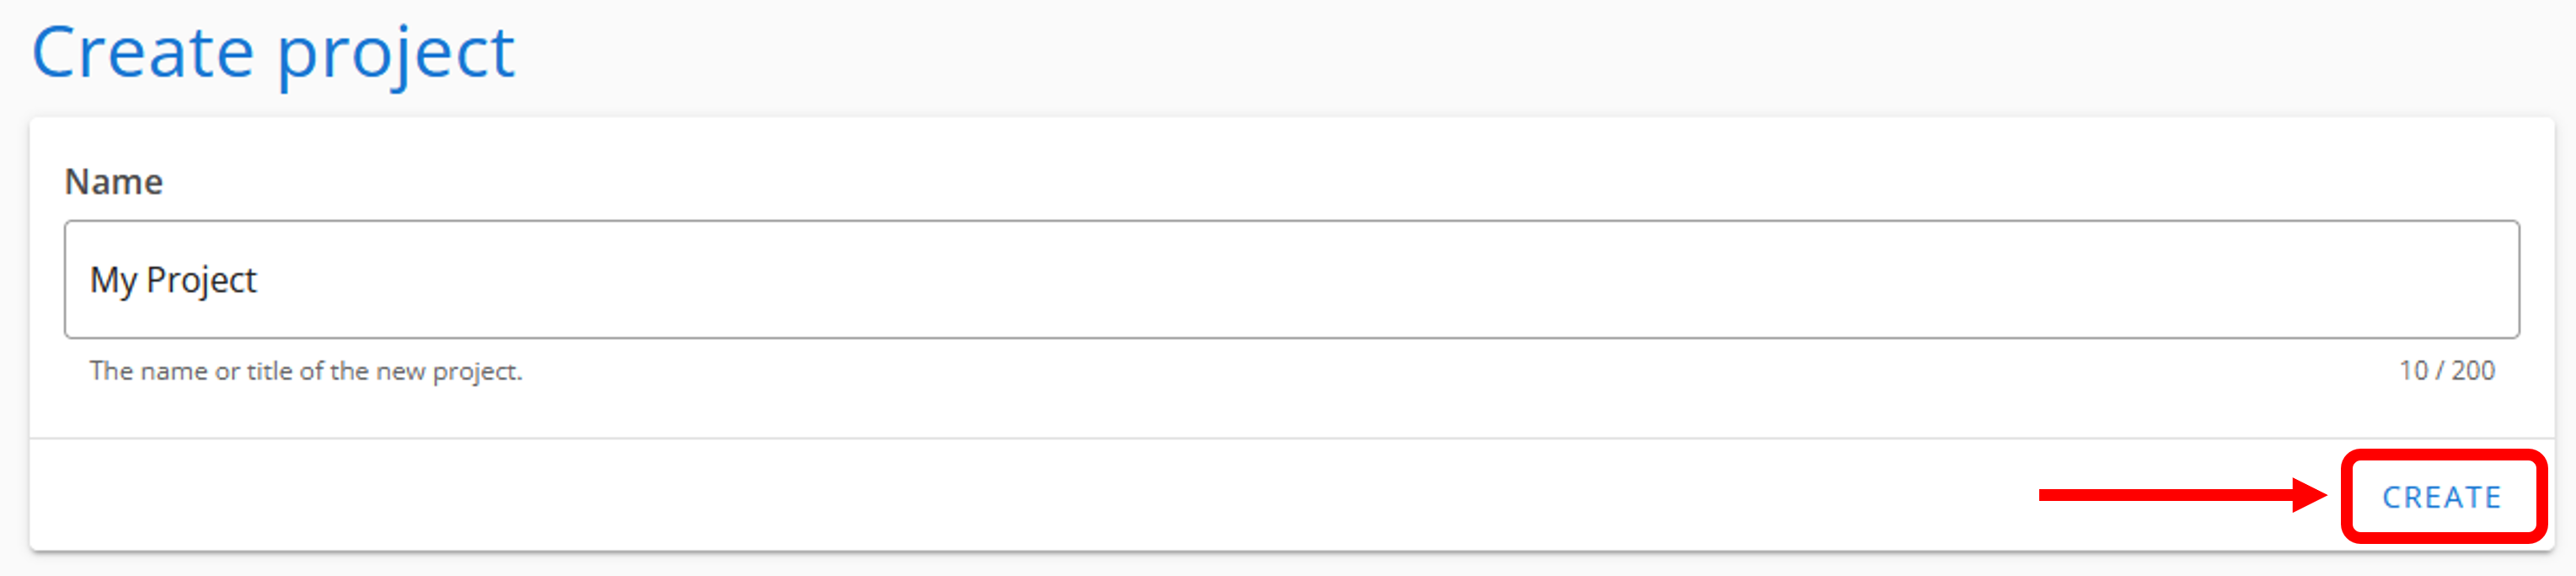
- Enter the name of your new project and click Create.
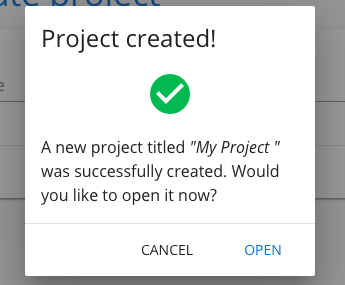
- A pop-up screen will appear, to open the project now click open, otherwise click cancel. You can now find the project under Projects → Edit.
Add users to a project
Section titled “Add users to a project”- Sign-in to your account.
Find your organization and click Open.
- In the navigation bar, click Administration.
- In the left sidebar, click Projects and then click Edit.
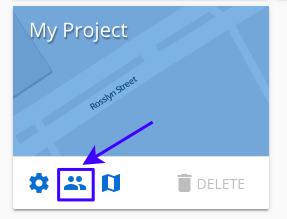
- Find the project you wish to manage and click the user icon on the bottom left-hand corner.
- Scroll down, select the user under Available users to add to the project, click Save Changes and then Confirm.
Remove users from a project
Section titled “Remove users from a project”- Follow steps 1-5 from above.
- Under Project users, scroll down or use the search bar to find and select a user.
- Click Save Changes and then Confirm.
Enforcing multi-factor authentication (MFA) on a project
Section titled “Enforcing multi-factor authentication (MFA) on a project”- Navigate to the Edit Project page.
- Toggle the Enforce MFA checkbox.
- Click Confirm on the popup dialog.
- Click Save Changes and then Confirm.
When enabled, users will not be able to access any project resources without having MFA enabled on their account. See MFA setup for how to enable MFA on your Civillo account.
To remove MFA enforcement, toggle the checkbox off then click Save Changes.
Fixing the decimal place count for cross-section labels
Section titled “Fixing the decimal place count for cross-section labels”By default, the cross-section tool chooses how many decimal places to show on distance, chainage, and elevation (RL) labels based on the current zoom level: fewer decimals when zoomed out, more when zoomed in. This keeps labels from implying more precision than the data supports.
If you’d rather your team see a consistent number of decimals at every zoom level, a project admin can override this with a fixed decimal place count.
- Navigate to the Edit Project page.
- Under Cross section label precision, toggle Use a fixed decimal place count on.
- Enter a whole number from 0 to 2 in the Fixed decimal places field.
- Click Save Changes and then Confirm.
To restore the automatic, zoom-driven behavior, toggle Use a fixed decimal place count off and click Save Changes.