# Edit an existing layer
Update existing layers with new data or change the way layers look and behave
After uploading your project data, you can view and change the properties of each layer. To do this follow the steps below.
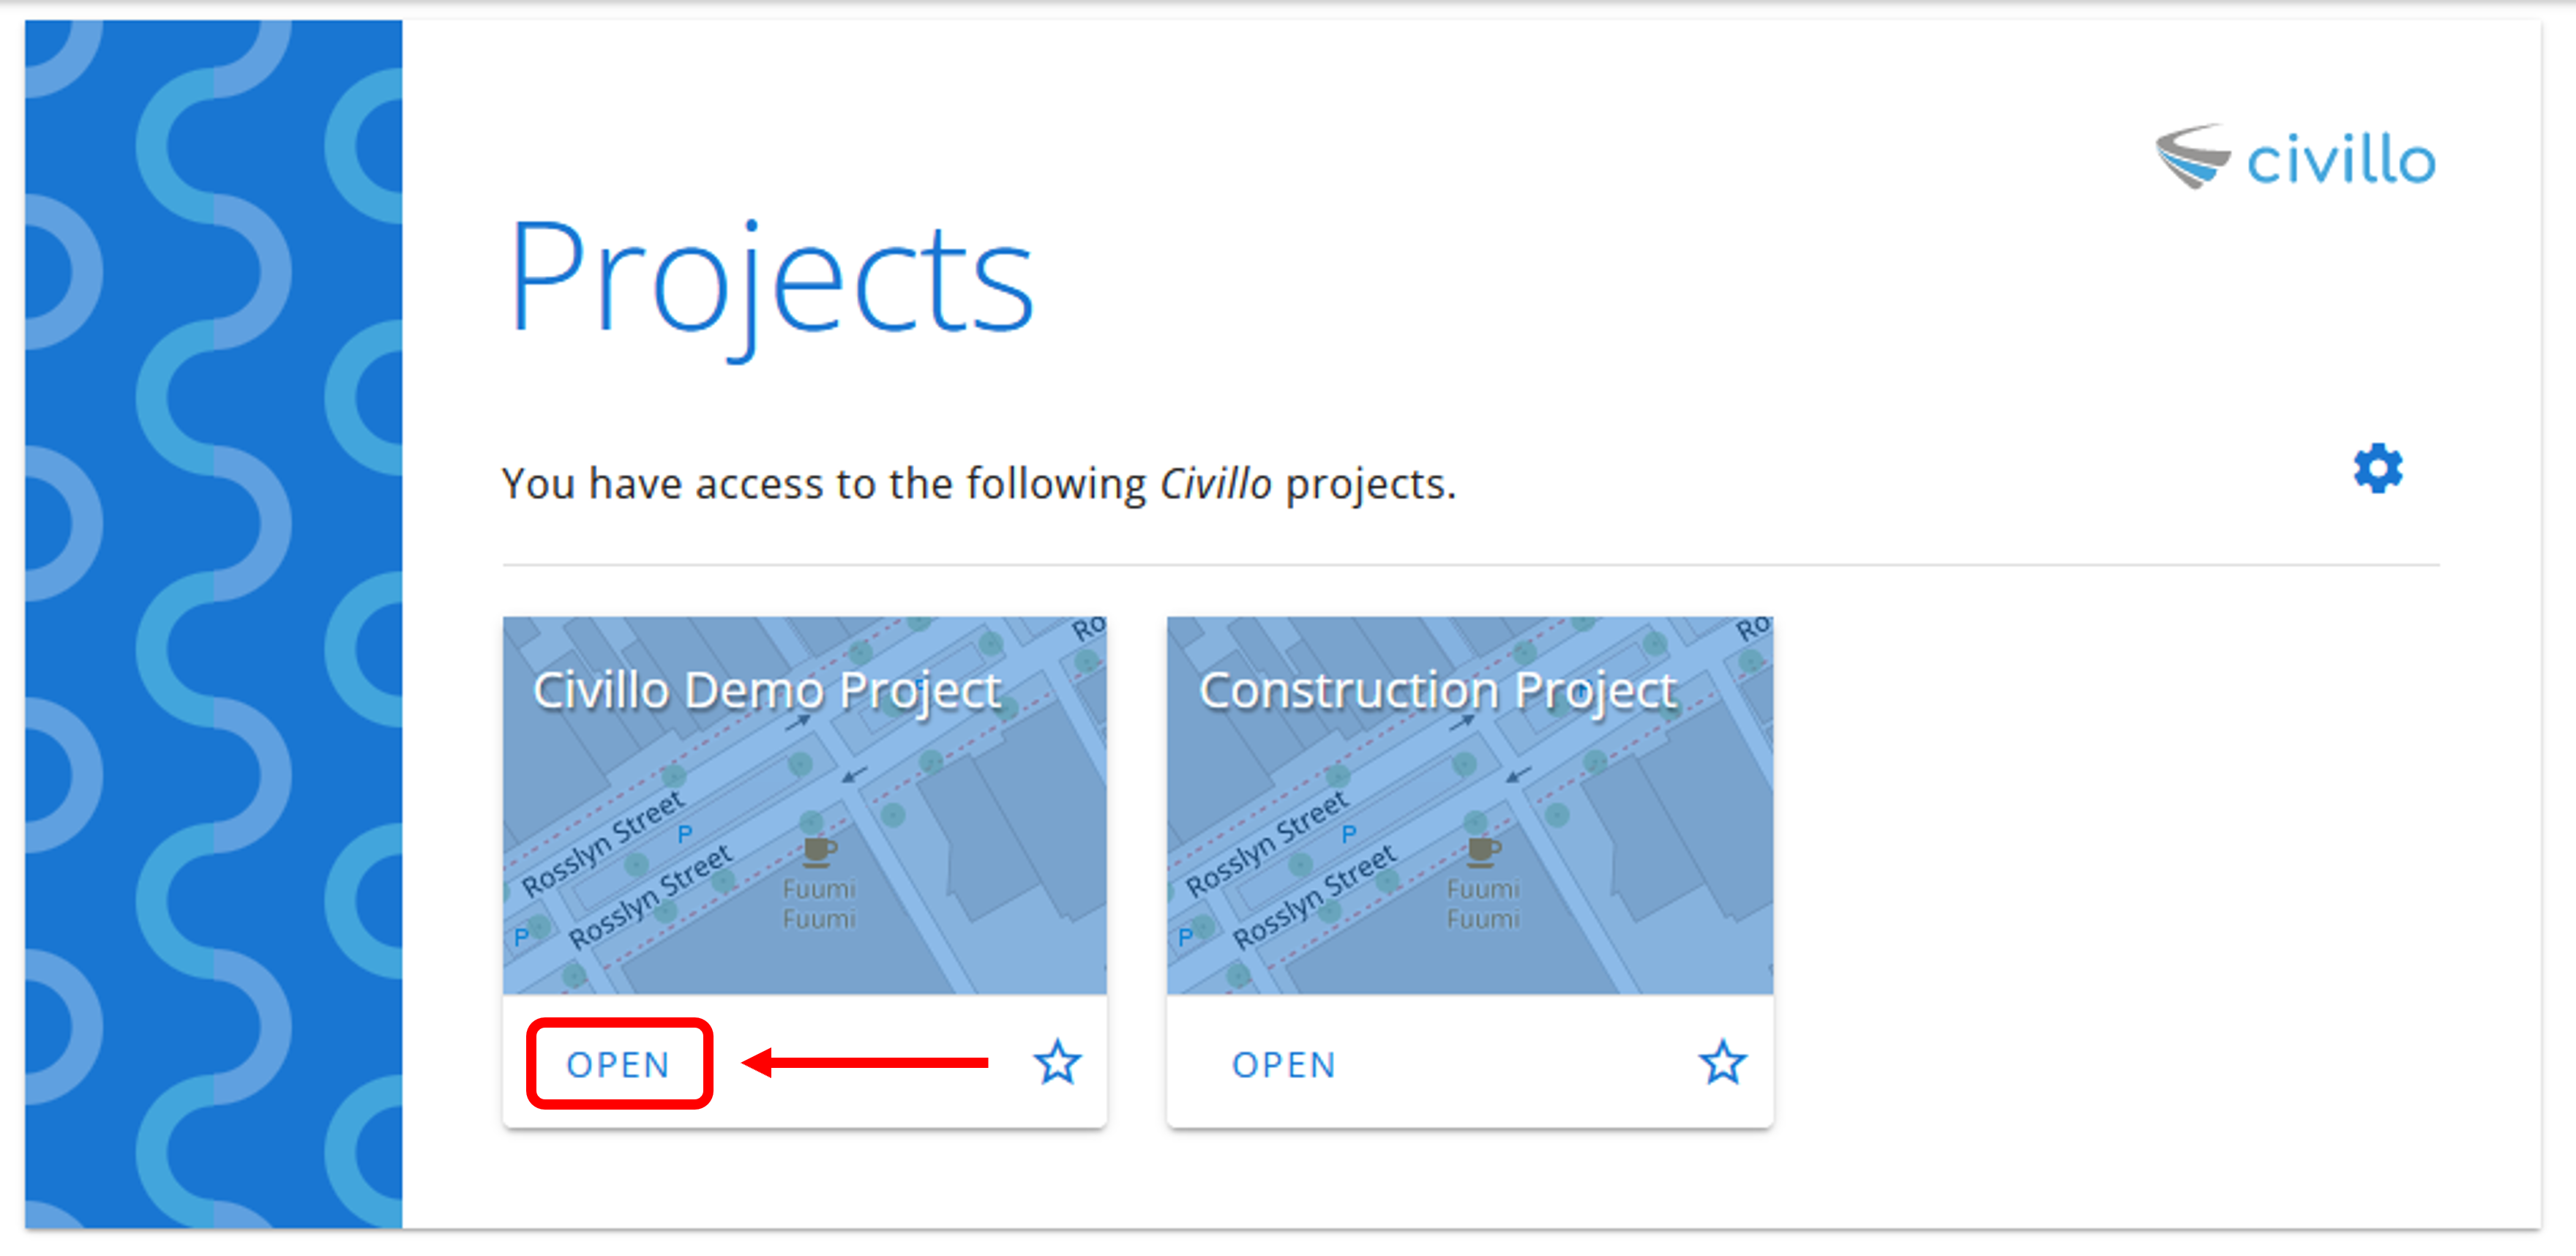
- Open your project.
- From the navigation bar, click Administration.

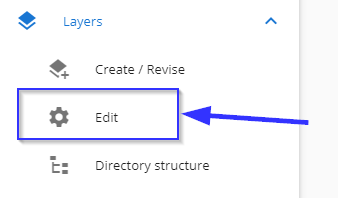
- In the left sidebar, under your project's name, click Layers and then click Edit.
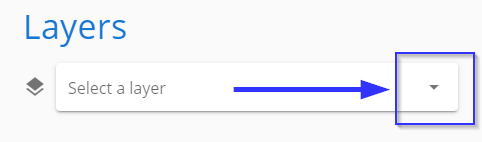
- Select the layer that you wish to edit in the drop down.
Information will display about the selected layer. There are three different panels that show information about the layer as well as allow you to change its properties.
# Layer source
Shows some metadata about the layer and its source files.
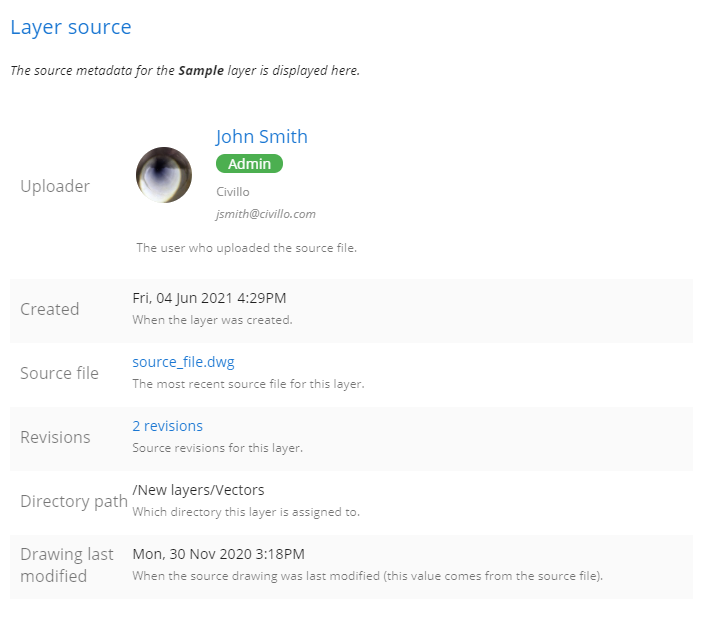
- Uploader - Who created the layer, or who uploaded the latest source file if there are multiple revisions.
- Created - When the layer was created. Does not change even if the layer is revised.
- Source file - The name and a link to the source file that was used to create the layer, or the latest source file if there are multiple revisions.
- Revisions - Clicking this will show a list of any revisions and information about those revisions that were made to the layer.
- Directory path - Displays the directory path that this layer was assigned to if applicable. To learn about how to update or change the assigned directory path, please see layer directory management.
- Drawing last modified - If applicable, shows when the source file was last modified (last modified date of the file when it was uploaded).
# Layer properties
Allows administrators to change properties about the layer.
- Name - Change the name of the layer.
- Description - A short description describing the layer. This description appears on the layer's metadata panel in the map view.
- Global - This layer will be available to every user with access to the project. This is typically enabled for aerial imagery but can apply to other layer types too.
- Default to on - If checked, this layer will be enabled by default on map load for any users that have permission to see it.
- Allow in Permits - (Permits module only) This layer will be available to be added to permits.
WARNING
When a layer is marked as ‘Allowed in permits,' the spatial representation of that layer can be viewed by any Civillo users with access to the permit module, as well as anyone with the URL to the publicly accessible permit document. It's important that only layers you are comfortable displaying publicly be allowed in permits.
- Download rules - Allows changing rule on downloading the layer's source file or its revisions.
- Downloads allowed - Users will be able to download current source and all revision files.
- Latest source only - Users will only be able to download the current source file (revisions blocked).
- No downloads allowed - Users will be blocked from downloading current source and all revision files.
- Services type - If this layer is a services related layer, select the applicable type here.
- Not a service - Default, this layer is not services related and will not appear in services reports.
- Design - This layer is still in the design stage. Will appear in services reports.
- Works as executed - The works in this layer have been executed. Will appear in services reports.
- Services and utilities - This layer contains services and utilities. Will appear in services reports.
- Include in services reports - Only appears for imagery layers, if checked, will appear in services reports.

TIP
For more info on services data management please see adding services data for usage in services reports
- Valid from - If set, this layer will only appear in the list (or services reports if applicable) if the current date is later than this date.
- Valid until - If set, this layer will only appear in the list (or services reports if applicable) if the current date is before this date. This is useful for soft "expiring" this layer if you expect the data will be out of date after a certain period of time.
- Default stroke width - The default width (in pixels) that lines will be rendered on the map for this layer. This can be changed on an individual sublayer (CAD layer) basis in the section below.
# Sublayers
Allows changing the way sublayers (CAD layers) are rendered for this layer.
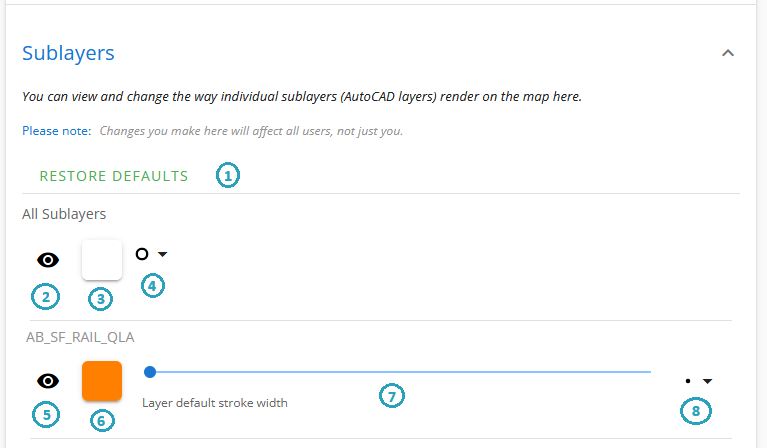
# All sublayers
- Restore defaults - Remove any overrides that have been created and restore the layer to as it was from source.
- Visibility - Toggle on or off visibility for all sublayers.
- Color - Change the color that all sublayers are rendered with. If any sublayers have multiple colors, changing the color will override all to a single color.
- Point style - Change the rendering style of points in all sublayers.
# Individual sublayer
- Visibility - Toggle on or off visibility for the sublayer.
- Color - Change the color that the sublayer is rendered with. If geometries in the sublayer has multiple colors, changing the color will override to a single color.
- Stroke width - The stroke width (in pixels) that lines will be rendered on the map for this layer. If "layer default", the stroke width is inherited from the layer properties panel value (see above section).
- Point style - Change the rendering style of points in the sublayer.