# Layer directory structure management
Instead of having every single layer in one long list, Civillo allows administrators to structure their layer list into directories. This helps separate layers into groups to allow easier location and identification by users.
# Accessing the layer directory structure management page
To make changes to the layer directory stucture, you must go to the layer directory structure management page in project administration.
- Open your project.
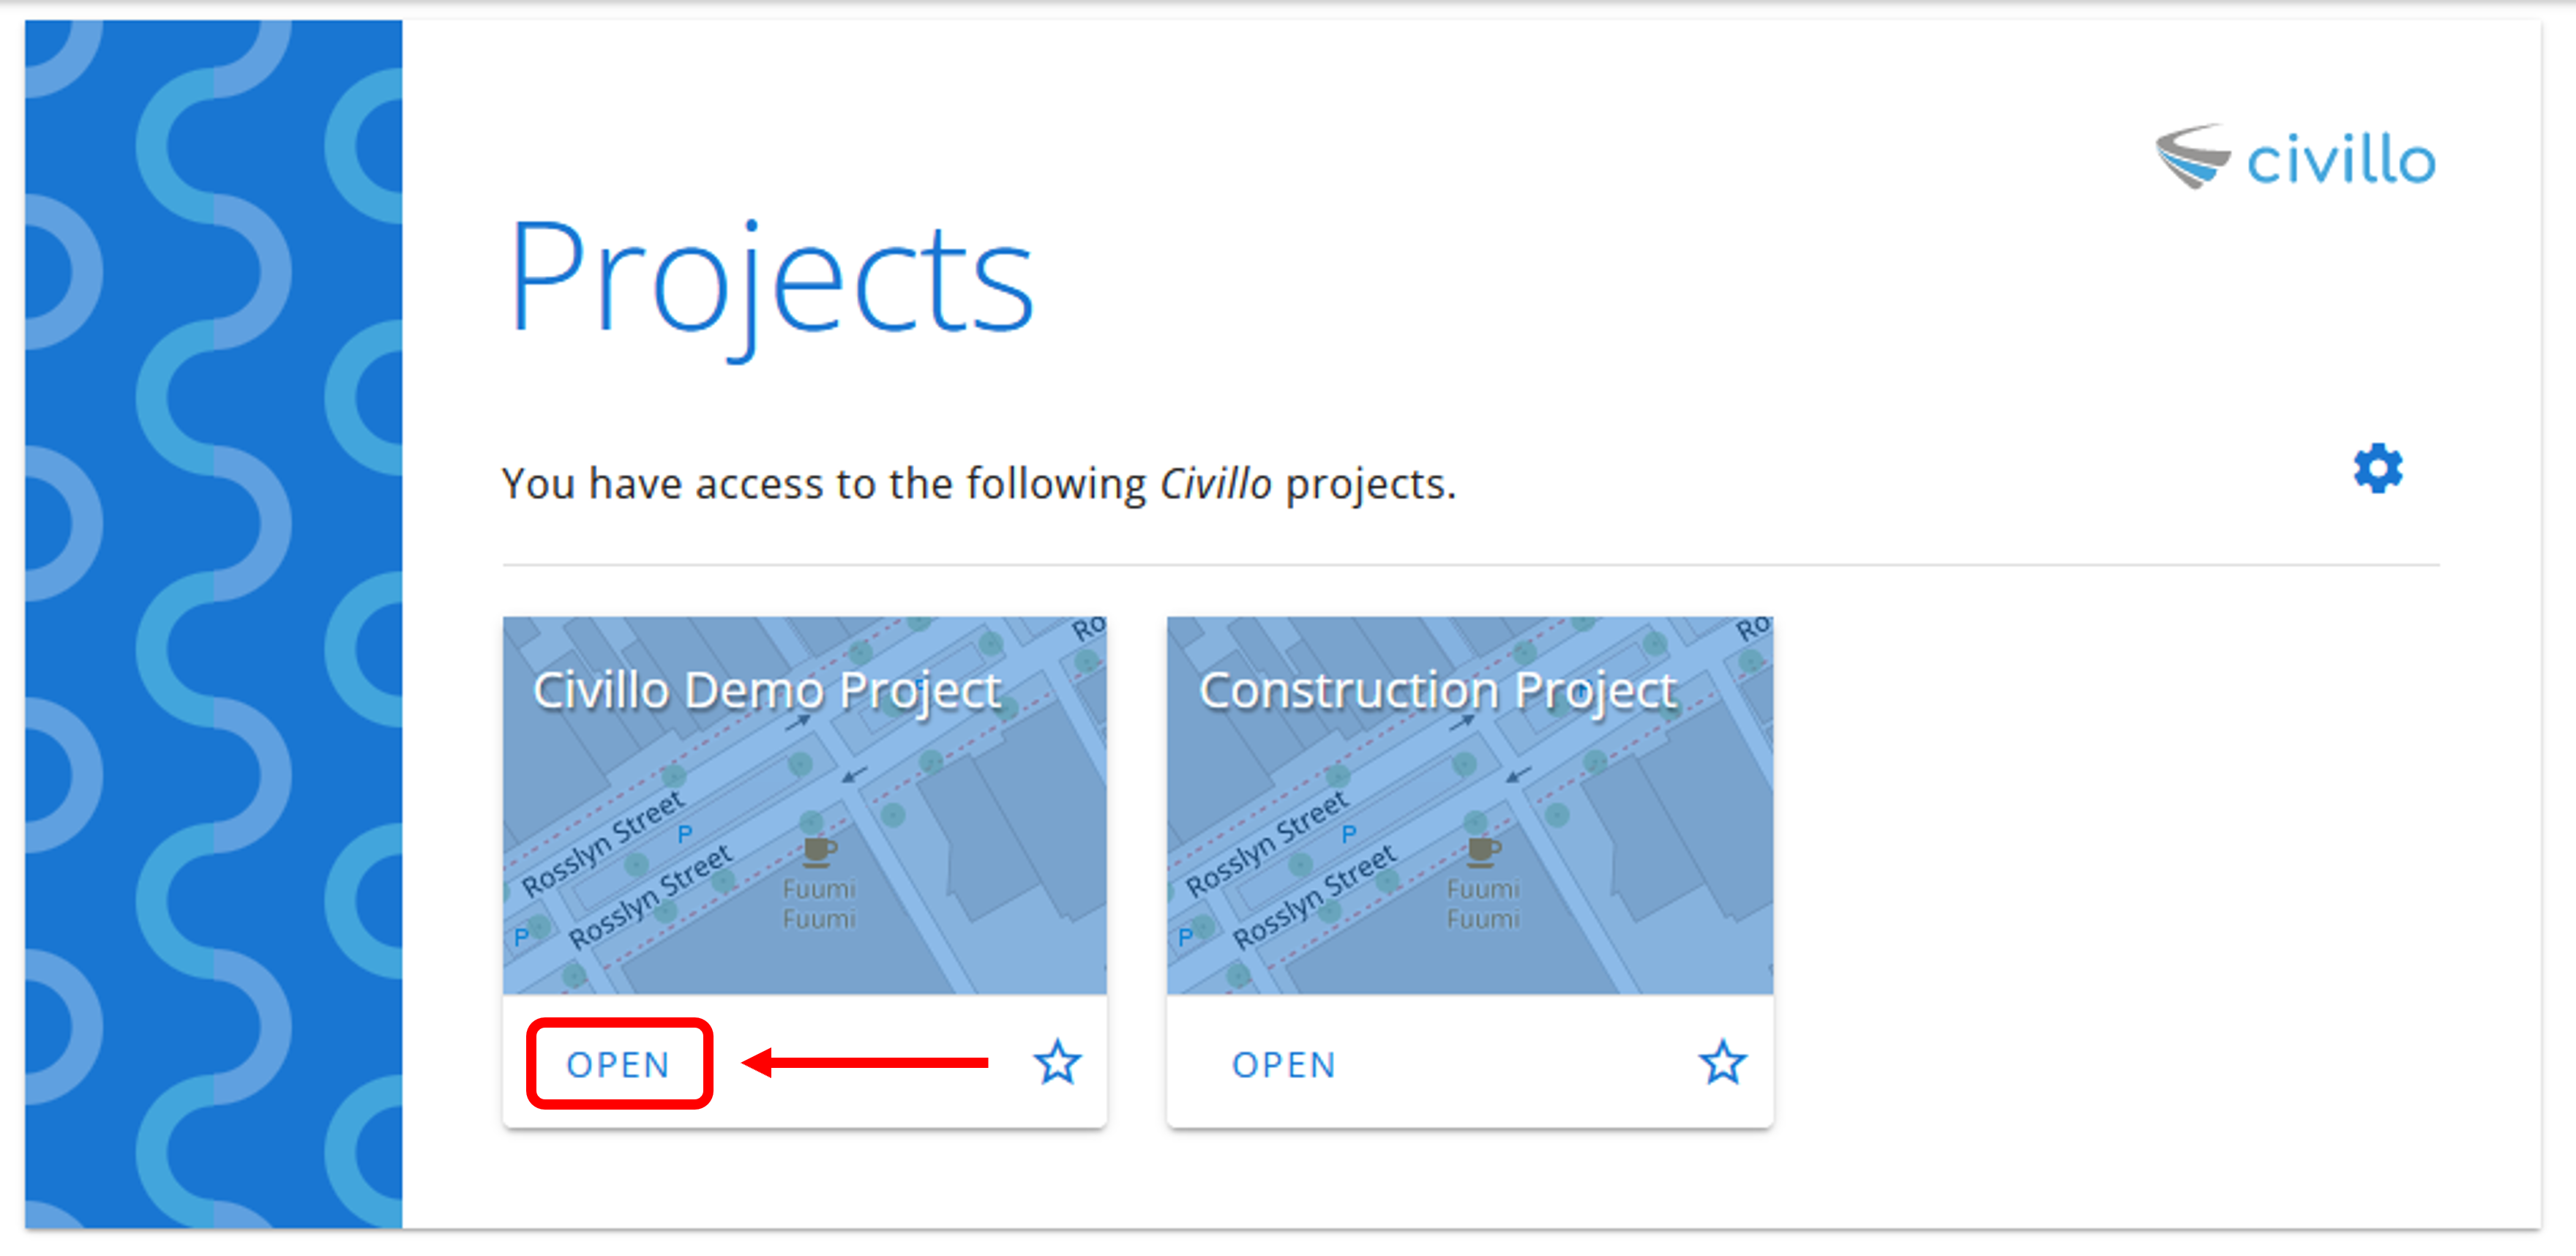
- From the navigation bar, click Administration.

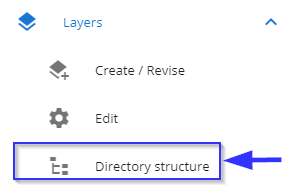
- In the left sidebar, under your project's name, click Layers and then click Directory structure.
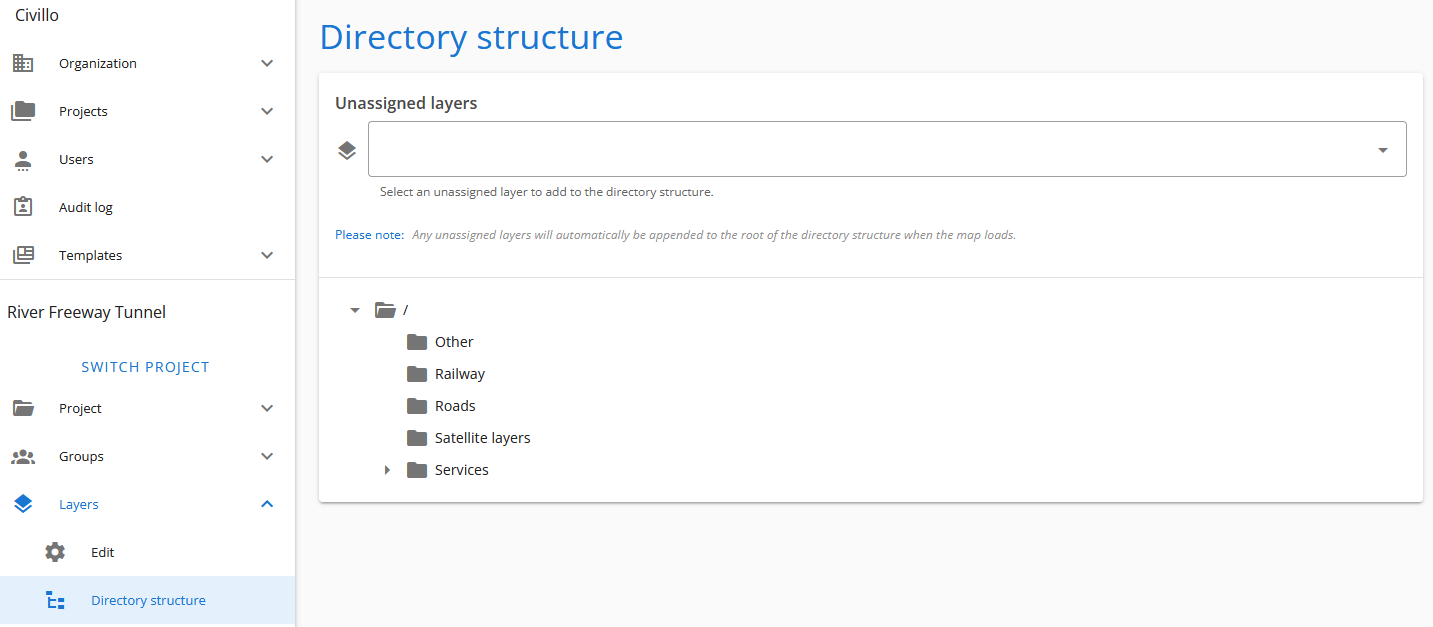
- The layer directory structure management page will open.
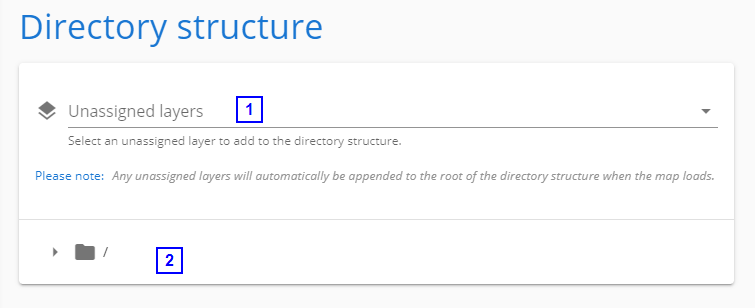
- Unassigned layers - This structure is a flat folder. Any layers not yet added to a directory are found here. On the map view, these layers will automatically be added to a "Unassigned layers" folder which is appended to the root on the map layer list.
- Directory structure - This structure is a treeview. To open it, first expand the root directory by clicking on the small arrow next to it.
TIP
The layer directory structure management page is multi-user and allows multiple administrators to work on it at the same time. Any changes made by one administrator will be pushed to the other administrators in real-time, so there is no need to refresh.
# Adding a directory
To add a directory, first you must decide where in the structure you wish to add the directory. First directories will always been appended to the root (or /) directory.
You must select the directory you wish to add a new directory to. To do this, click on the directory you wish to add a directory to. The highlighted directory and its path will appear above the tree structure.
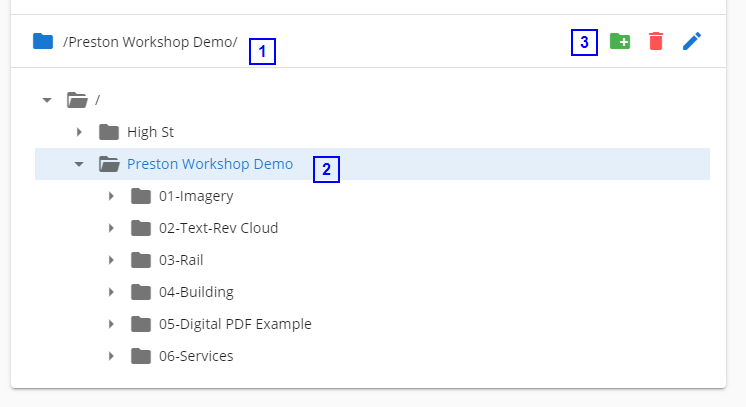
- Selected directory path - Shows the path to the selected directory. Actions performed will be on this directory.
- Selected directory - Highlights the directory that is selected in the treeview.
- Directory controls - Actions to perform on the current directory.
- Create directory - Creates a directory inside the selected directory.
- Remove directory - Removes the current directory and places all layers assigned to it back into the unassigned layers pool.
- Rename directory - Allows changing the directory name.
- Change directory color - Allows setting or clearing the directory color.
To add a new directory, select the  button.
This opens the create directory dialog where you must input a name for the directory.
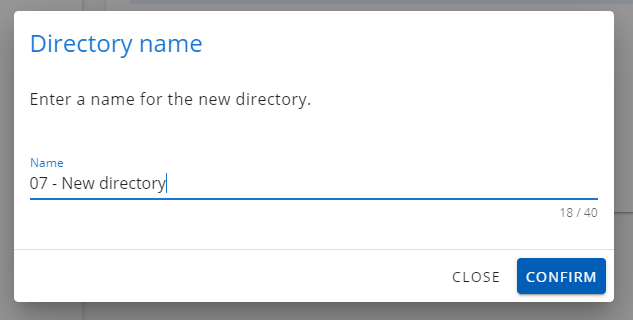
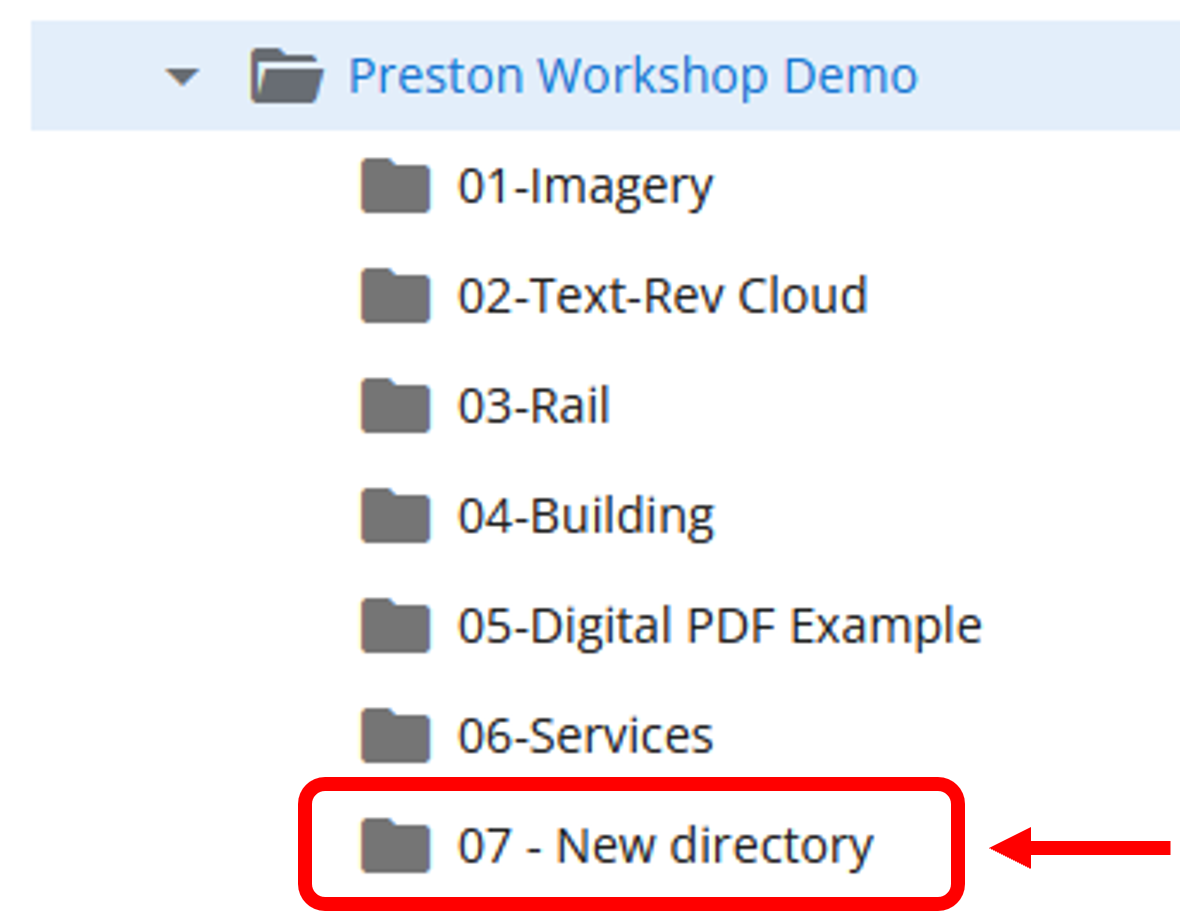
After entering a name, click the confirm button to finish adding the directory. The new directory will be added to the treeview.
# Moving a directory
Once created, directories can be moved around the structure via drag-and-drop. Moving a directory will move all of the layers and directories within.
If the target location has another directory within with the same name as the directory being moved you will be prompted to confirm whether you would like to merge the contents of the directories.
If the directories being merged also contain child directories with clashing names then the merge is aborted; you will have to explicitly merge these directories in this case.
# Removing a directory
To add a directory, first you must select the directory you wish to remove. Any subdirectories will also be deleted and any assigned layers will be returned to the unassigned layers pool.
TIP
The root directory (/) cannot be removed.
To remove the directory, select the  button.
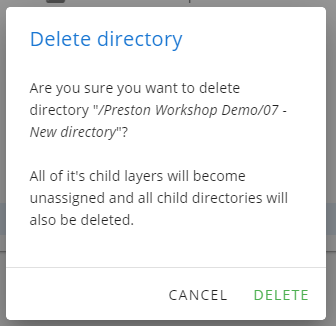
A confirmation dialog will appear asking you to confirm removal of the directory. Please note this action cannot be undone.
# Renaming a directory
To rename a directory, first you must select the directory you wish to rename.
TIP
The root directory (/) and unassigned layers folder cannot be renamed.
To rename the directory, select the  button.
This opens the rename directory dialog where you must input a name for the directory.
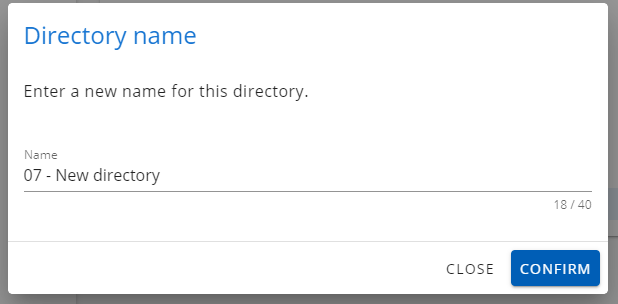
After entering a name, click the confirm button to finish renaming the directory. The directory name will be updated in the treeview.
# Changing directory color
To change a directory's colour you must again select the desired directory.
TIP
The root directory (/) and unassigned layers folder cannot have their colors set.
Select the color picker (furthest action button to the right), which will open a color picker menu; see below.
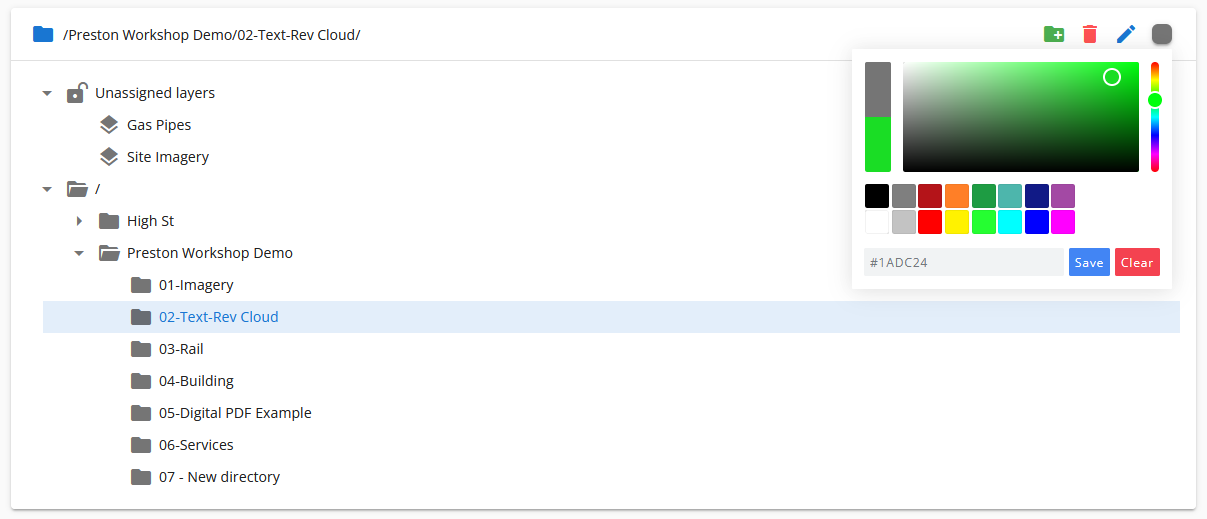
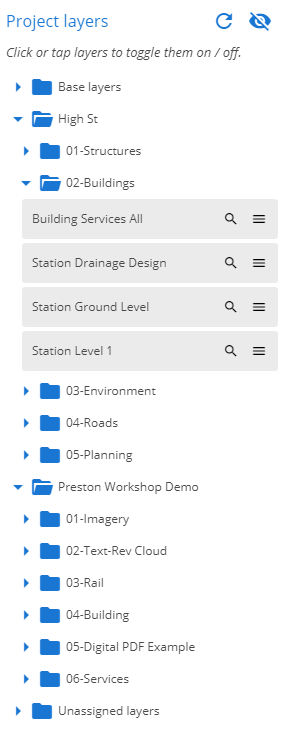
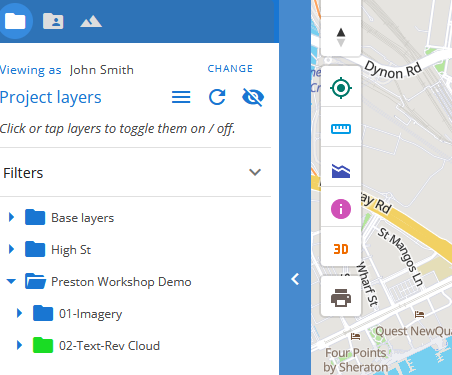
Either pick the desired color then click "Save" or remove an existing color by clicking "Clear". The directory's color will then be updated in the treeview both here and in the layers panel on the map:
# Assigning a layer to a directory
To assign a layer to a directory, you must first select it in the unassigned layers folder.

Then, drag the layer into the directory (in the treeview) to which you wish to assign it. It will appear in that directory as follows:

Alternatively, you can select a directory, hover over the layer you would like to assign to this directory in the unassigned layers folder then click the blue down arrow button. This is a good way to quickly assign several layers.
Once a layer has been assigned it can also be moved to other directories, either via drag-and-drop or via clicking the target directory, hovering over a layer then clicking the green right arrow button.
# Unassigning a layer
The easiest way to unassign a layer from a directory and return it to the unassigned pool is to hover over the layer and click the red up arrow button. You can also select the layer in the treeview (as shown below) and drag it back into the unassigned layers folder.
In either case, it will then reappear in the unassigned layers folder:
# Deleting a layer
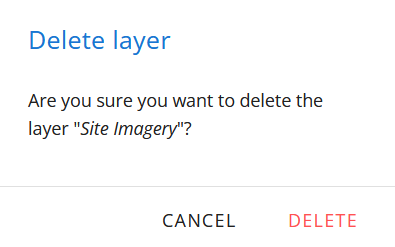
Layers may also be deleted outright from the directory structure management page. To do so, select a layer and click the button.
As with deleting directories, a confirmation dialog will appear asking you to confirm layer deletion, which cannot be undone.
# Directory structure templates
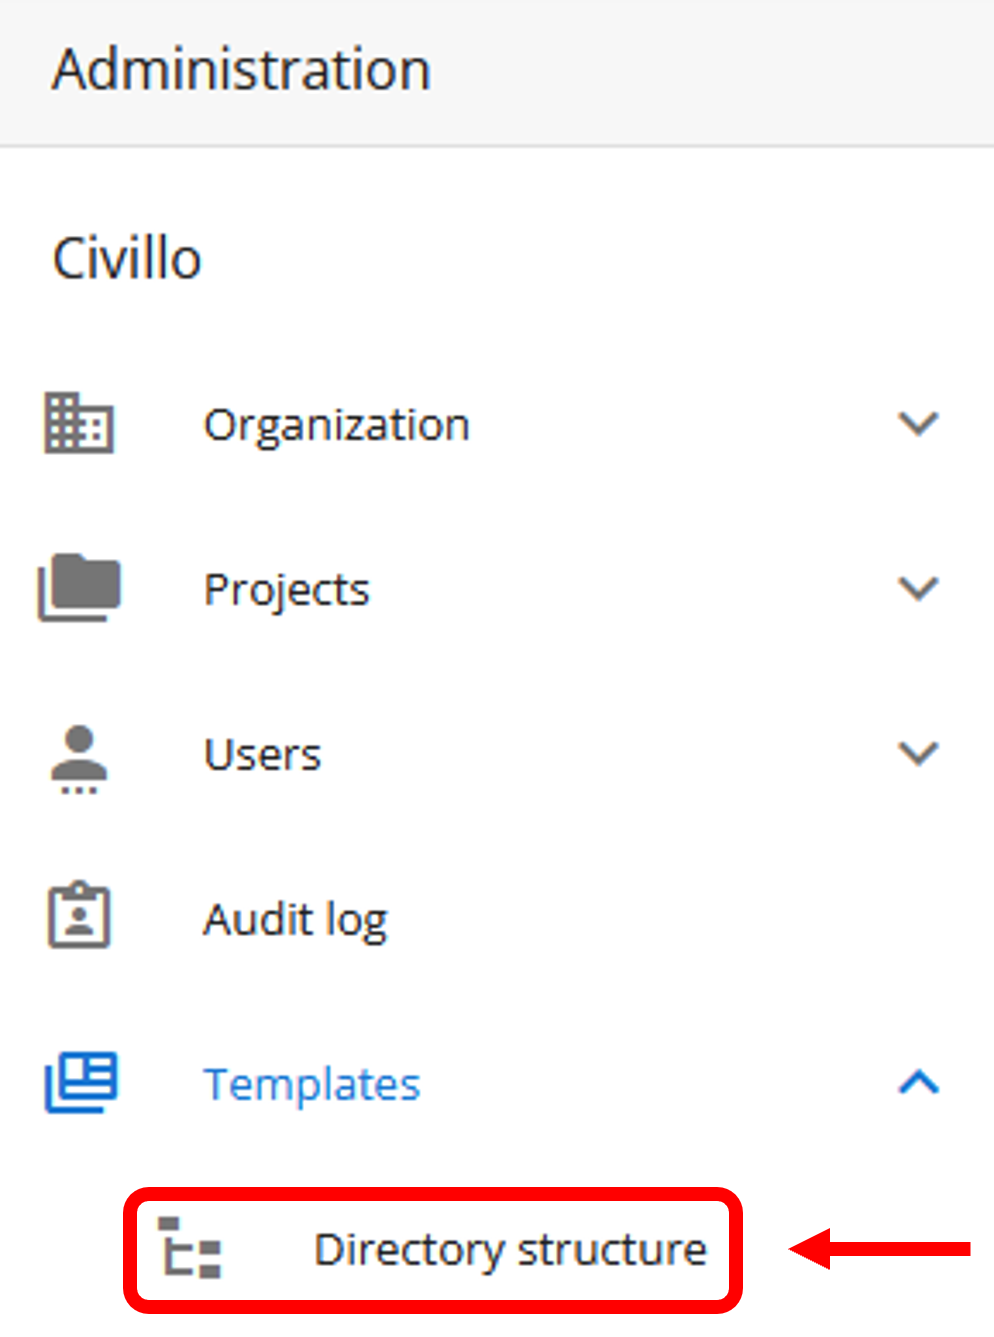
Projects can be created with an existing directory structure using the directory templates functionality. To access this page, click Templates in the left sidebar under your organization name and then click Directory structure.
TIP
Note that this feature is only available to organization administrators.
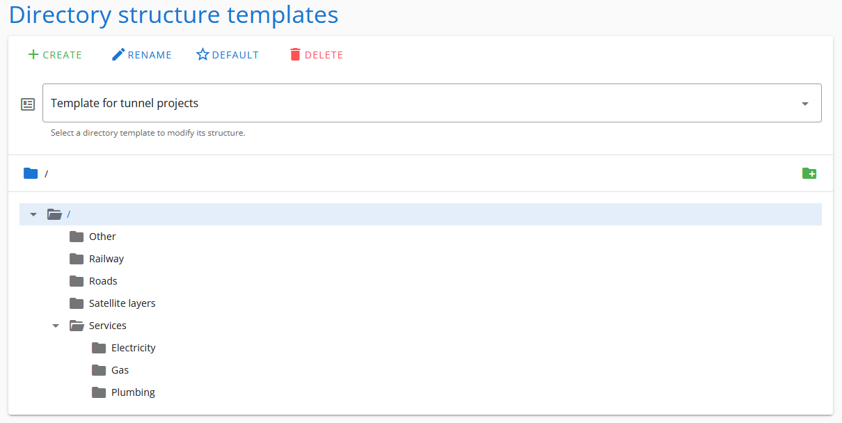
Click the Create button shown below to create a template. For each template you create, you will be able to modify its directory structure following the instructions earlier on this page. Different templates can be selected using the dropdown.
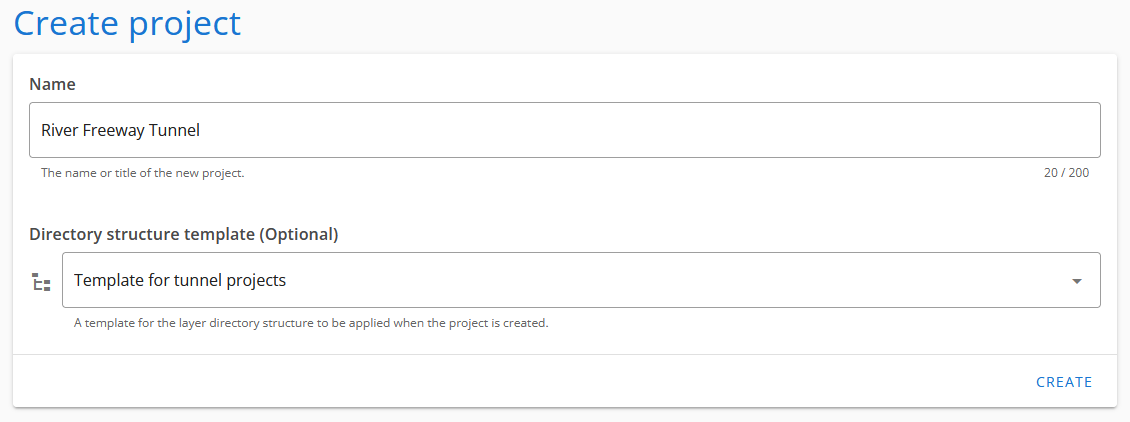
Directory templates can also be marked as Default to appear as the default option when creating a project. Once you have prepared your template, navigate to the create a project page and select it before creating your project as shown below:
The new project will then have a layer directory structure corresponding to the template with which it was created: