# Loading data into Civillo
Civillo provides a central place to store all of your project's data and resources. CAD and spatial data can be made accessible to users by simply uploading it and creating a layer. Users will view the layers and then be able to utilize the built-in tools to query the data.
# Creating a new layer
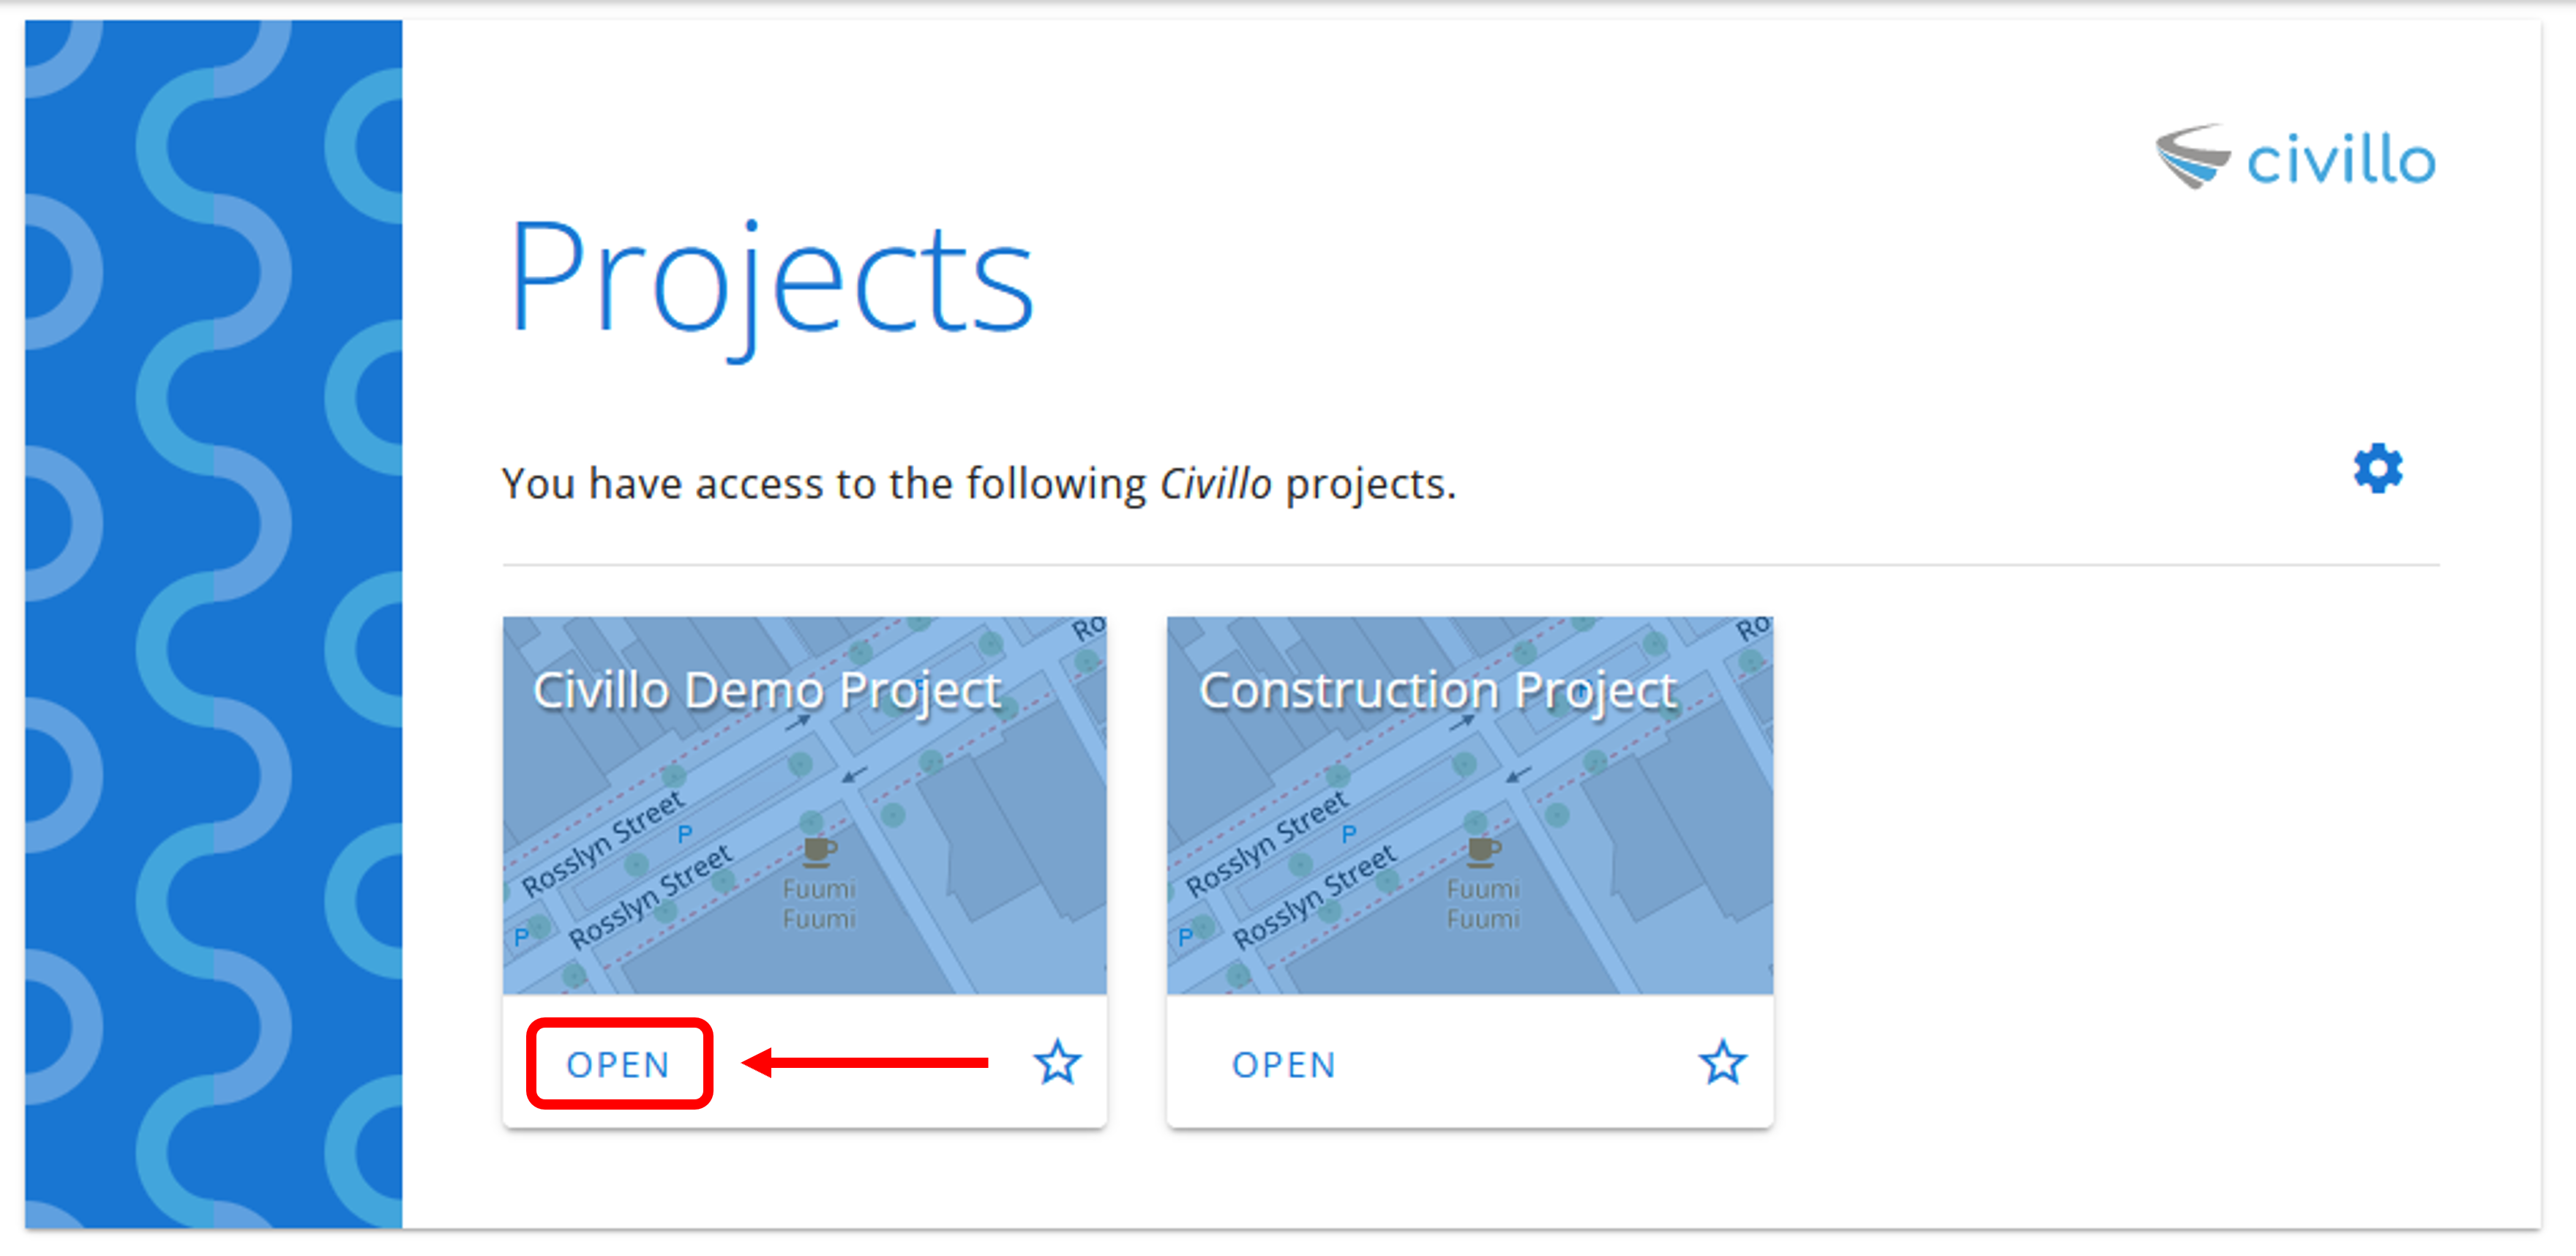
- Open your project.
- From the navigation bar, click Administration.

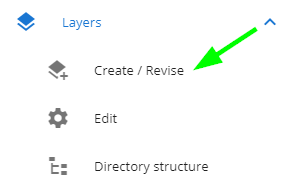
- In the left sidebar, under your project's name, click Layers and then click Create / Revise.
- Fill out the name and description of your layer. Also select the spatial reference system and units of the source files you are uploading. This is required so your data can be re-projected into the correct location on the map.
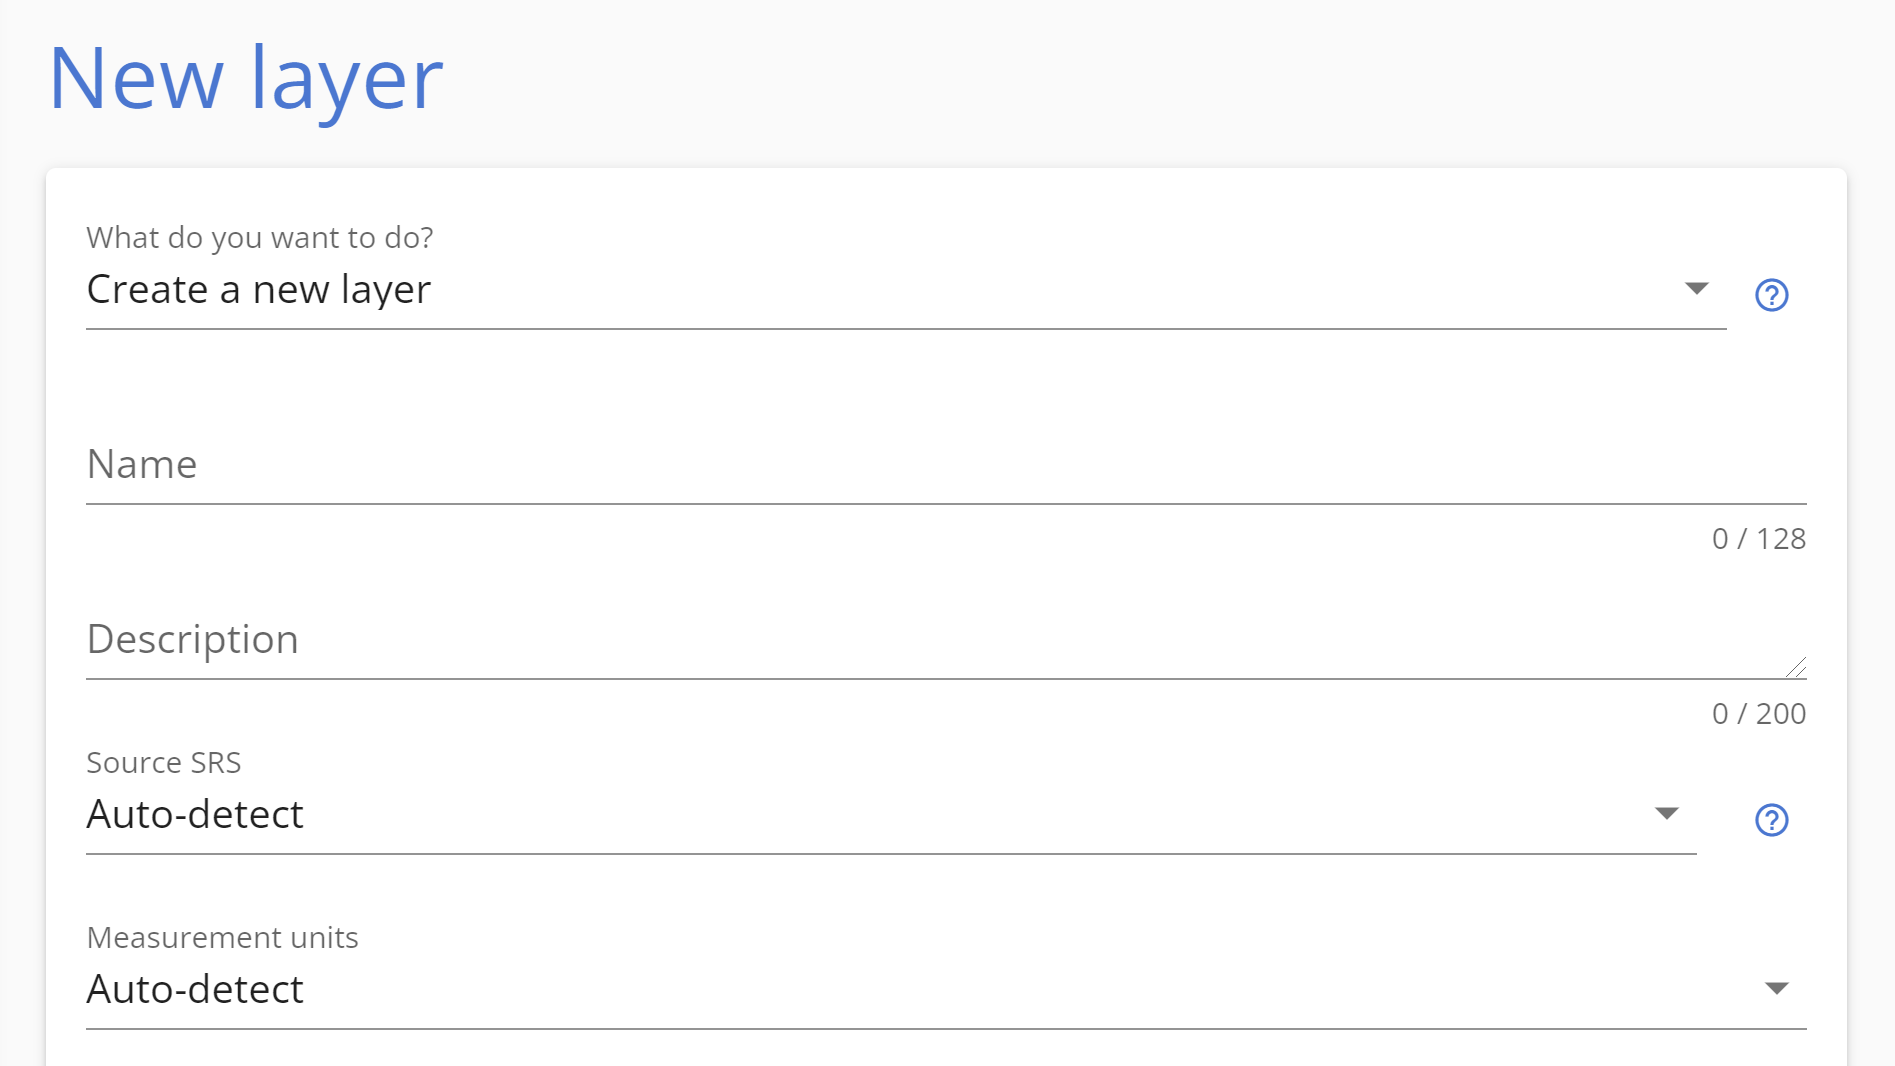
In order to be able to accurately re-project the data onto the map, the projection of the source data must be specified. This is done by selecting from the Source SRS drop down menu when uploading your data. When selecting Auto-detect, Civillo will choose between a latitude/longitude system and the spatial reference system of the project, depending on the disposition of your data.
TIP
Refer to spatial reference systems for more details.
- Tick the appropriate boxes (if any). The options are:
- Give me permission to view - This layer will be viewable by you.
- Global - This layer will be available to every user with access to the project. This is typically enabled for aerial imagery but can apply to other layer types too.
- Default to on - If checked, this layer will be enabled by default on map load for any users that have permission to see it.
- Allow in Permits - (Permits module only) This layer will be available to be added to permits.
WARNING
When a layer is marked as ‘Allowed in permits,' the spatial representation of that layer can be viewed by any Civillo users with access to the permit module, as well as anyone with the URL to the publicly accessible permit document. It's important that only layers you are comfortable displaying publicly be allowed in permits.
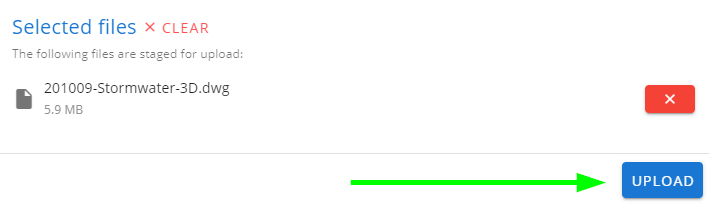
- Click Select files and choose the file(s) you wish to upload.

More information about each type of file format are explained in the What file types can I upload to Civillo? page.
- Click Upload. When the upload is complete an Upload Success pop-up will appear, to view the processing status, click GO and you will be redirected to the Processor job log
Important
Please note that there is a limit of 10 concurrent upload jobs per project. You can see current processing jobs in the processor job log.
- When the data is processed you will be able to view it by accessing your Layers within the map view.
TIP
Please note: Some files may take a while to process. The Processor job log page (bottom of the left sidebar) will provide you with an up to date status of your layer.
To learn about how to update or change the properties of your layer, please see Editing an existing layer.
To learn about how to give your users permissions to see your layer, please see Setting user permissions on layers.