# Points of interest
# Create a point of interest
Open the points of interest tool bar
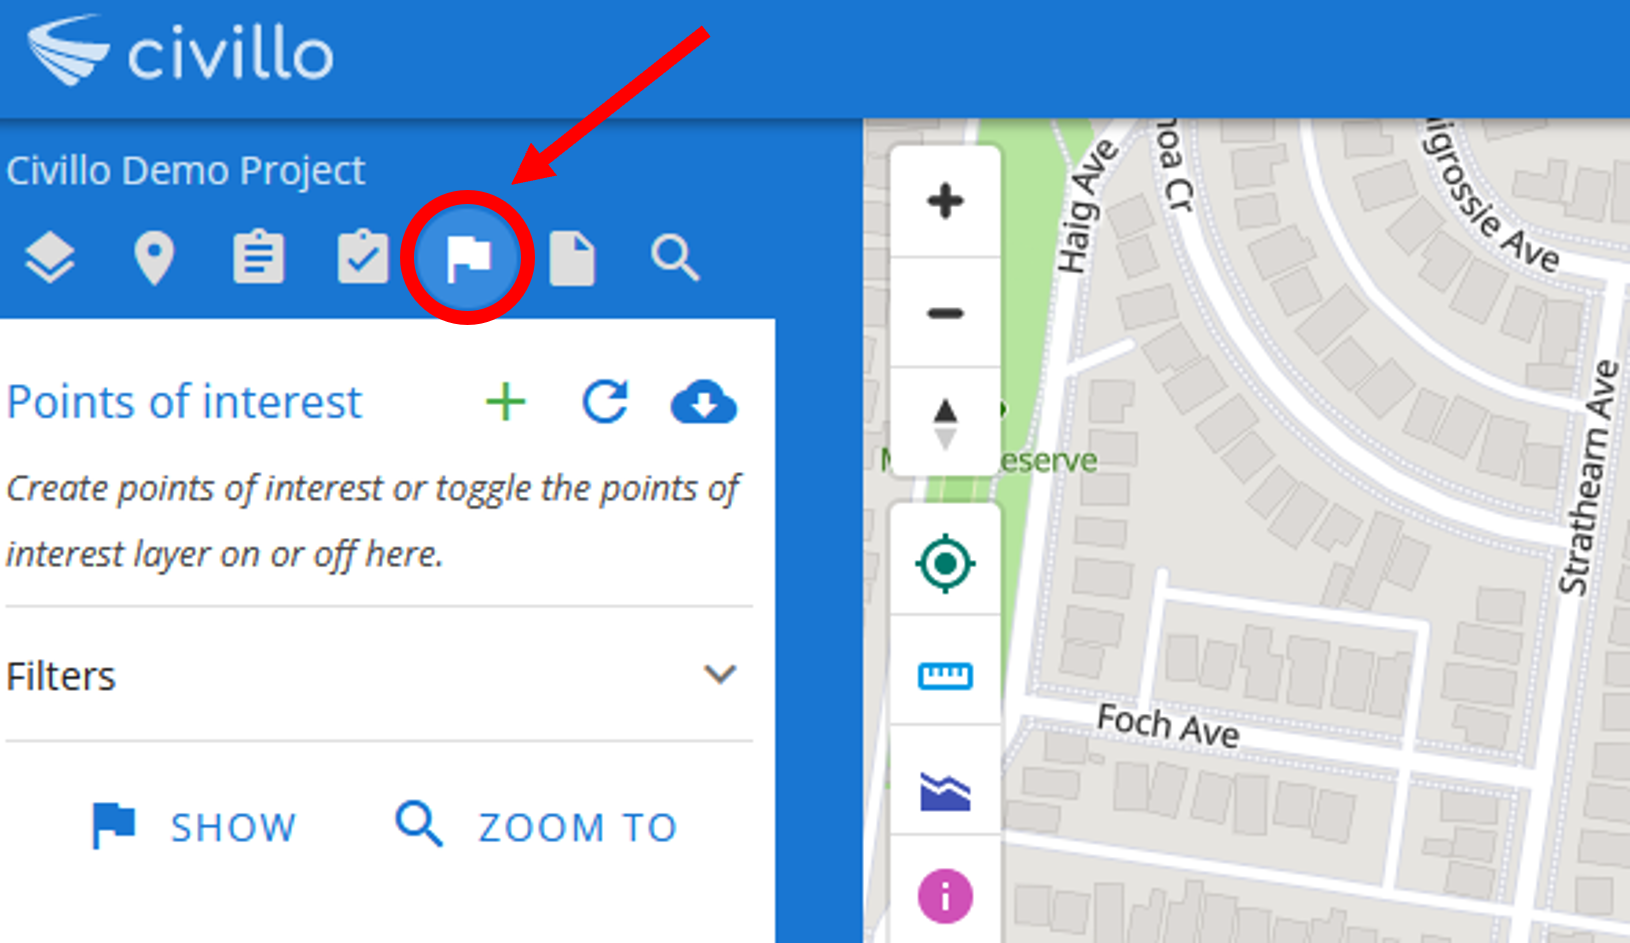
Click on the icon to open the Points of interest tab.
Next, click on the
 icon.
icon.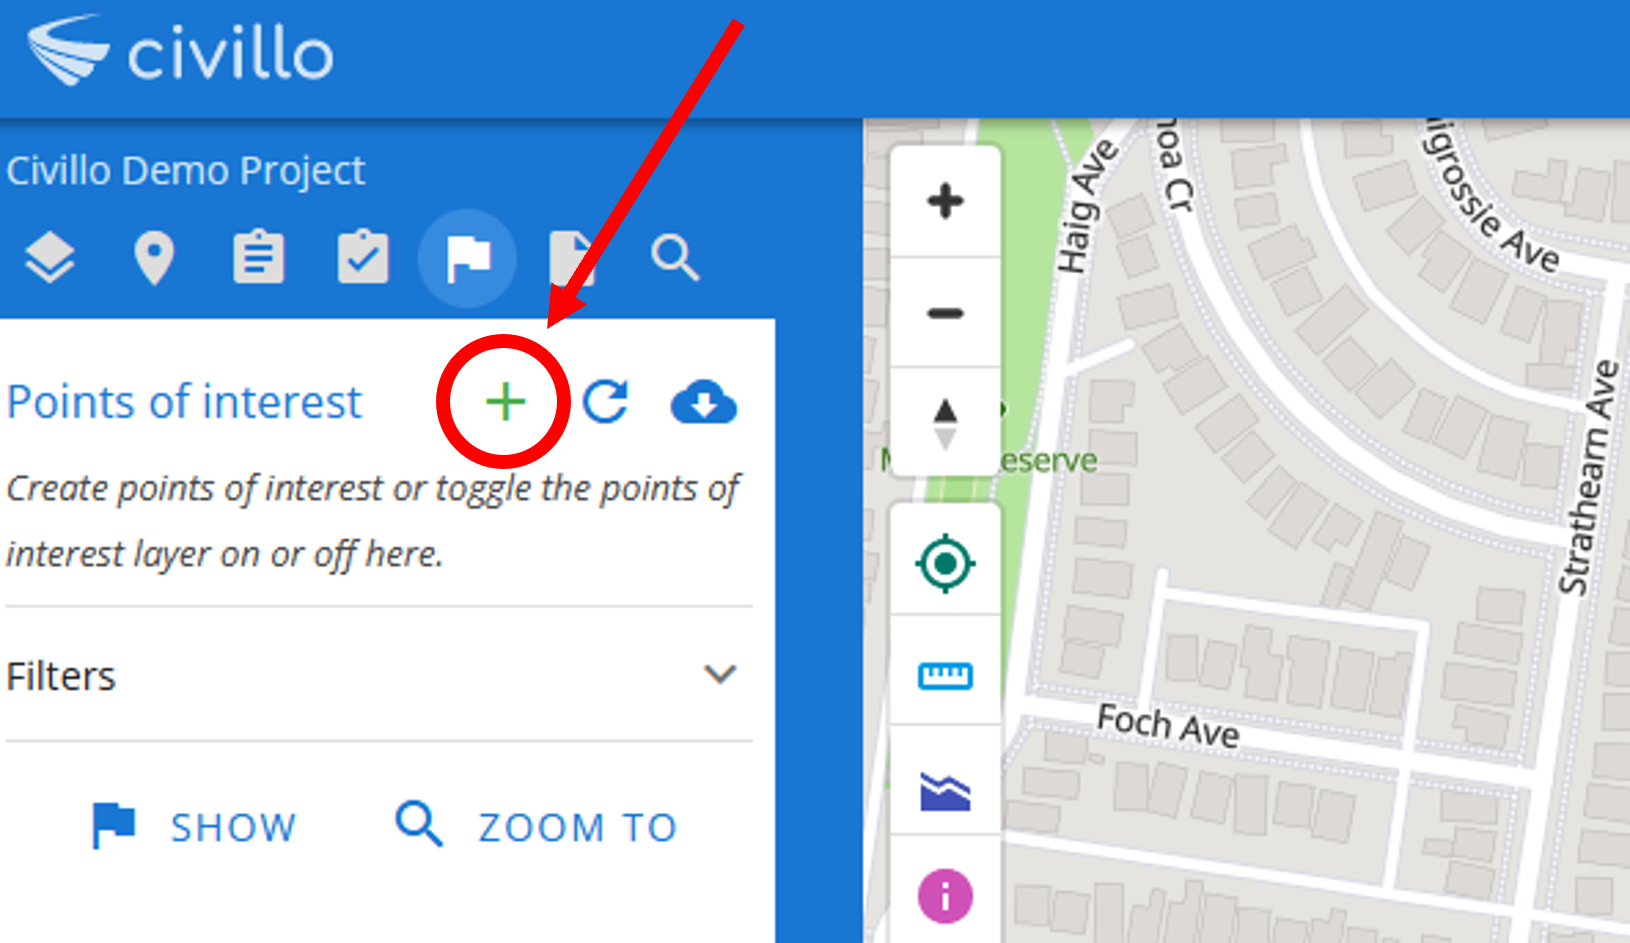
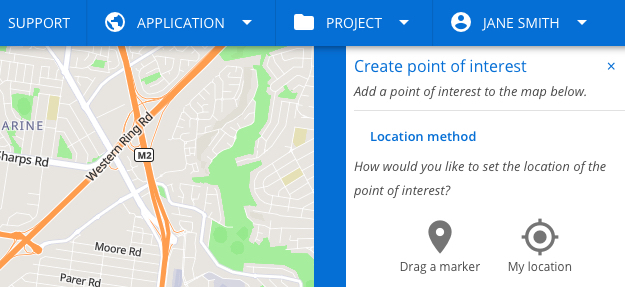
The points of interest tool bar will appear in the alternate bar on the right, as shown below.
Select location
You can select a location by either dragging a marker to a given location, by clicking
 . Or you can use your current location by clicking
  .
.Drag a marker
Click the Drag a marker button. A marker will now appear on the map. Drag the marker to your chosen location and click CONFIRM.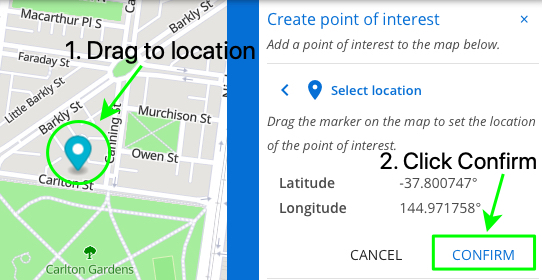
Use my location
Click the My Location button and wait for you location to be obtained, then click CONFIRM.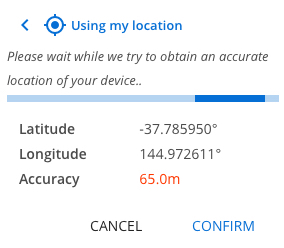
Add photos
You can add multiple photos to your point of interest that can be seen by other users. Use the feature to capture and share visuals of the point of interest.
Add notes
You can add notes to your point of interest to specify the information attributed to that point.
Confirm
Click Confirm Point of Interest to save your point of interest. Your point of interest will now be visible on the map and listed under Points of interest in the Points of Interest tab.Show / hide and zoom To points of interest
To see your points of interest on the map, click Show. To zoom to your point/ points, click Zoom To.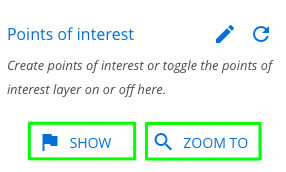
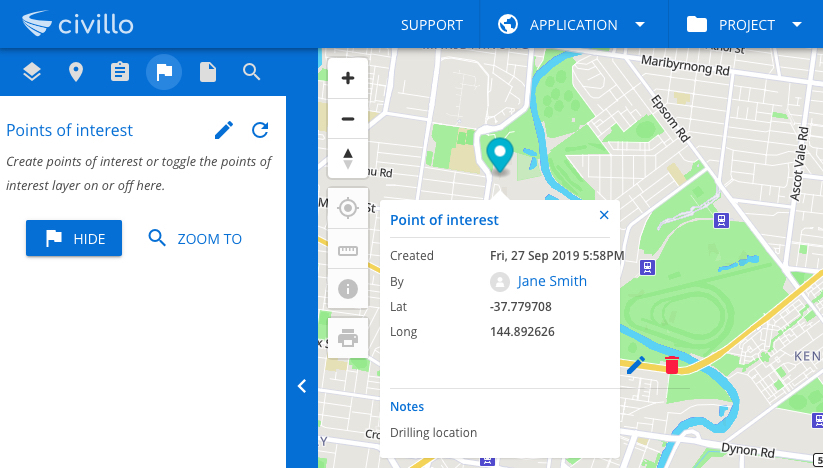
Your point/s will now be visible on the map. Click on your point to see location cordinates and creation details as shown below.
